Assassin’s Creed Mirage offers stunning visuals that will undoubtedly tempt you to capture its breathtaking beauty. This guide will show you how to effectively utilize Photo Mode in Assassin’s Creed Mirage to capture the game's picturesque moments.
Assassin’s Creed Mirage presents players with the mesmerizing city of Baghdad, featuring vibrant and awe-inspiring visuals. Naturally, as a player, you'd want to capture these moments in the form of pictures.

While traditional screenshots can serve the purpose, they often fall short in providing the creative freedom and variations you might desire. However, with the Photo Mode feature, you can elevate your in-game photography to new heights.
Here's a comprehensive guide on how to use Photo Mode in Assassin’s Creed Mirage.
Assassin’s Creed Mirage: How to Use Photo Mode
Utilizing Photo Mode in Assassin’s Creed Mirage is a straightforward process. To access Photo Mode, follow either of the steps below:
- If you're playing on a PC, press the "F3" key on your keyboard.
- On consoles, simultaneously press the left and right analog sticks.
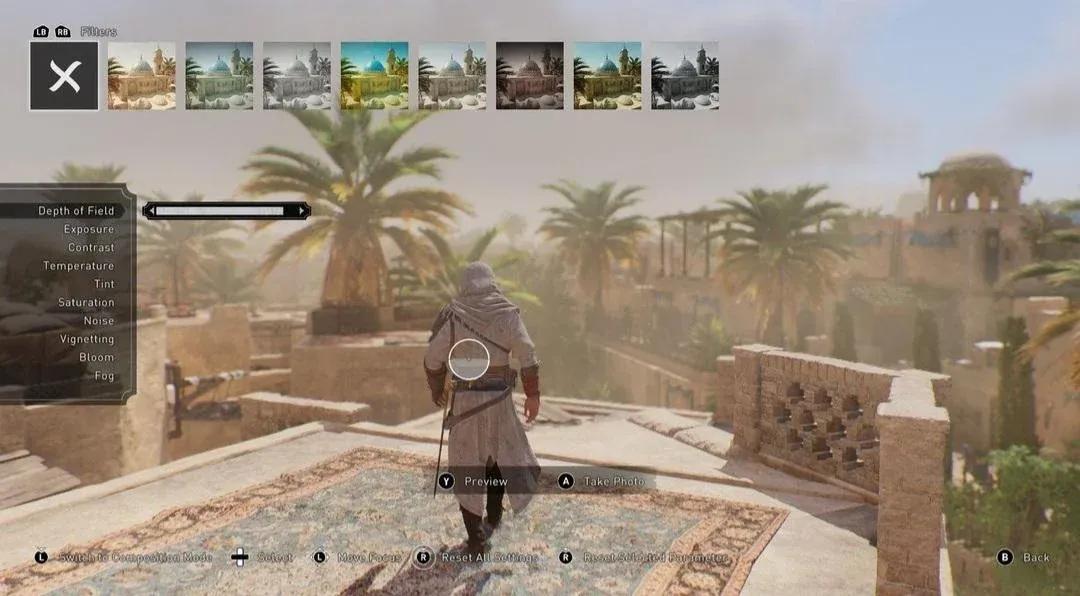
Upon performing these actions, your game will transition into Photo Mode. Within Photo Mode, you have a plethora of options at your disposal, including adjusting the camera angle, cycling through grids, entering edit mode, offsetting the camera, and more. In essence, Photo Mode provides you with the creative freedom needed to capture the perfect shot.

In edit mode, you can modify various aspects of your image, such as background filters, temperature, tint, exposure, saturation, noise, and much more. Consequently, Photo Mode offers a deep and versatile toolset for crafting your ideal image.
Furthermore, it's worth noting that the game pauses while in Photo Mode. This ensures that you won't be interrupted by enemy attacks while you're composing your shot, allowing you to focus entirely on capturing your desired image.


