In Lords of the Fallen, the Tortured Prisoner may appear enigmatic at first, but she plays a significant role as the game's pyromancy vendor. If you want to harness the power of fire against bosses and enemies, it's essential to free her from her cell. Here's a straightforward guide on how to do it.
Step 1: Obtain the Skyrest Bridge Key
To reach the Tortured Prisoner, you must first acquire the Skyrest Bridge Key and use it to unlock a hidden crypt beneath the bridge. Explore the wooden walkways below the entrance to Pilgrim's Perch to find this key.
Advertisement
Step 2: Locate the Tortured Prisoner
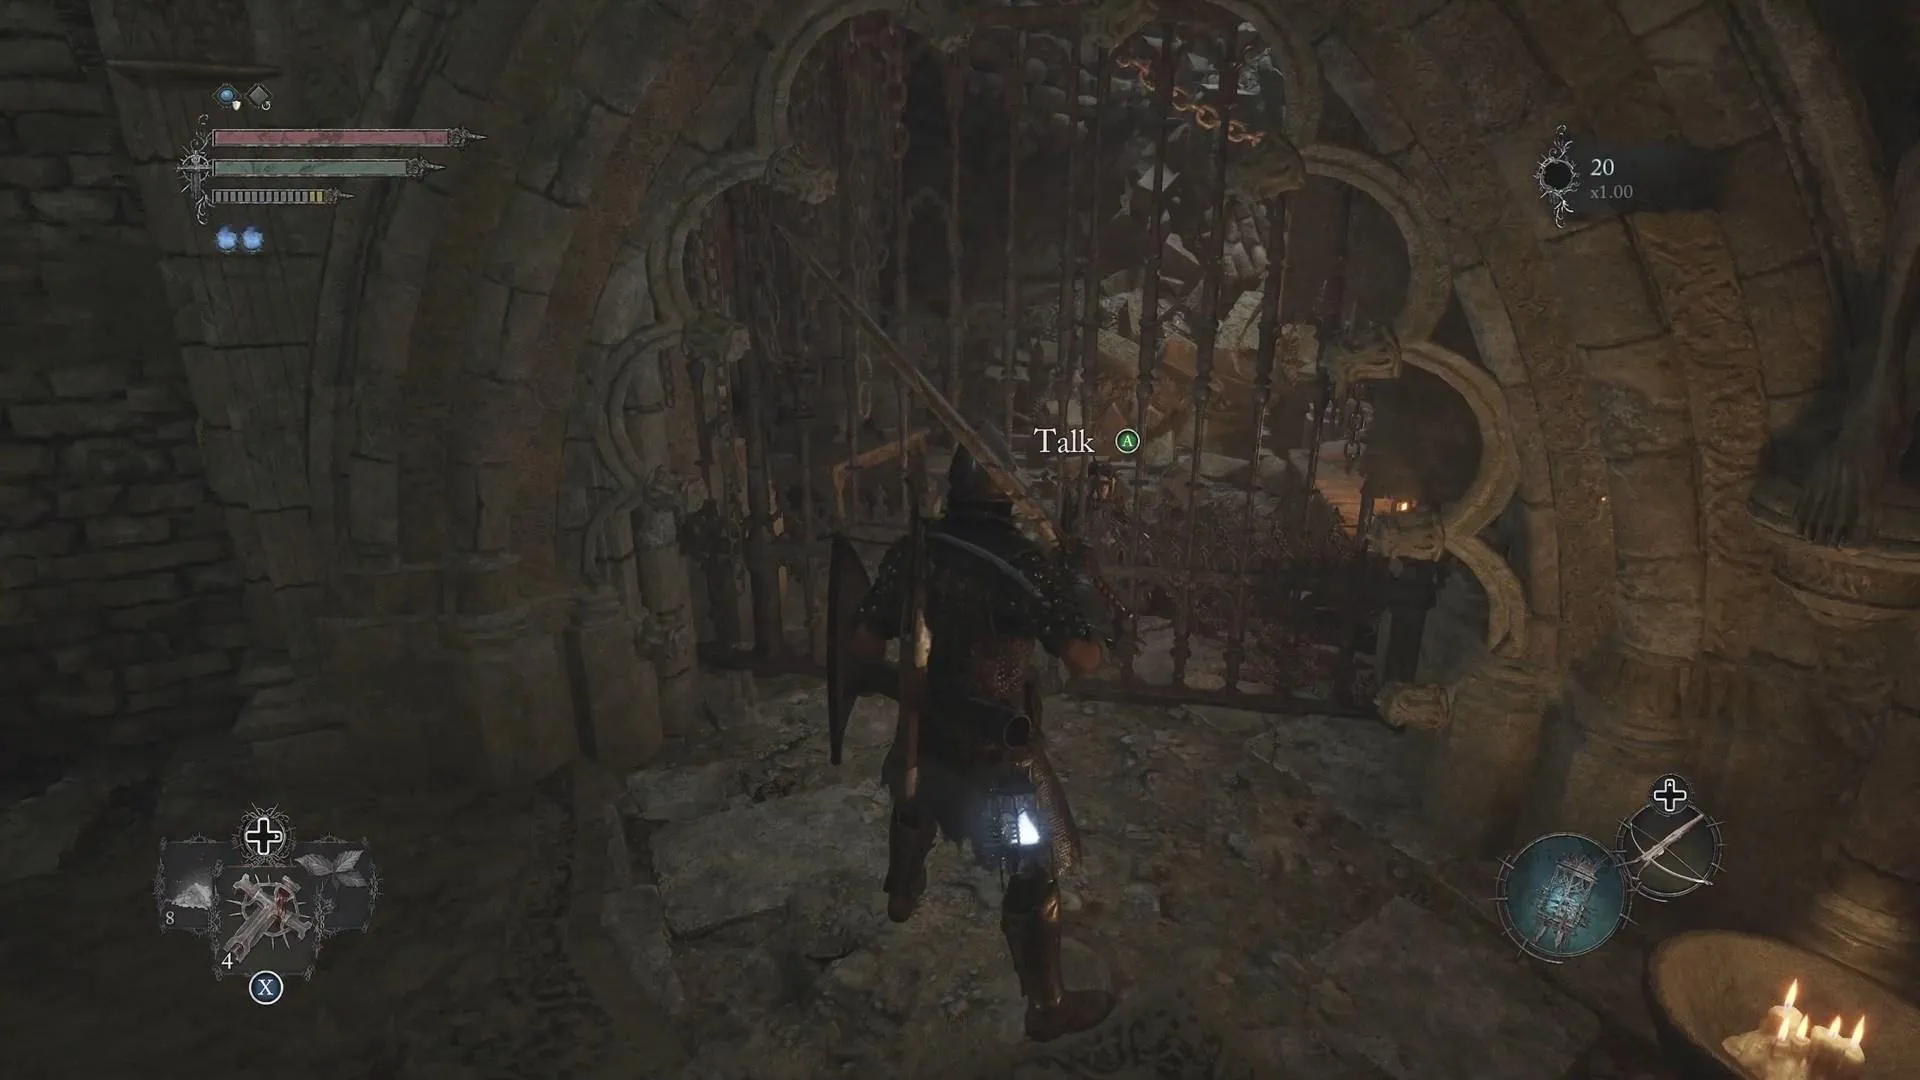
After gaining access to the hidden crypt using the Skyrest Bridge Key, head up the large spiral staircase. You'll find the Tortured Prisoner inside a cell on the upper level. While attempting to communicate with her, you'll notice that she only mumbles gibberish, and the cell door seems impossible to open.
Step 3: Free the Tortured Prisoner
To free the Tortured Prisoner, you'll need to head back down the stairs to the statue-lined causeway at the crypt entrance. Here's what to do:
-
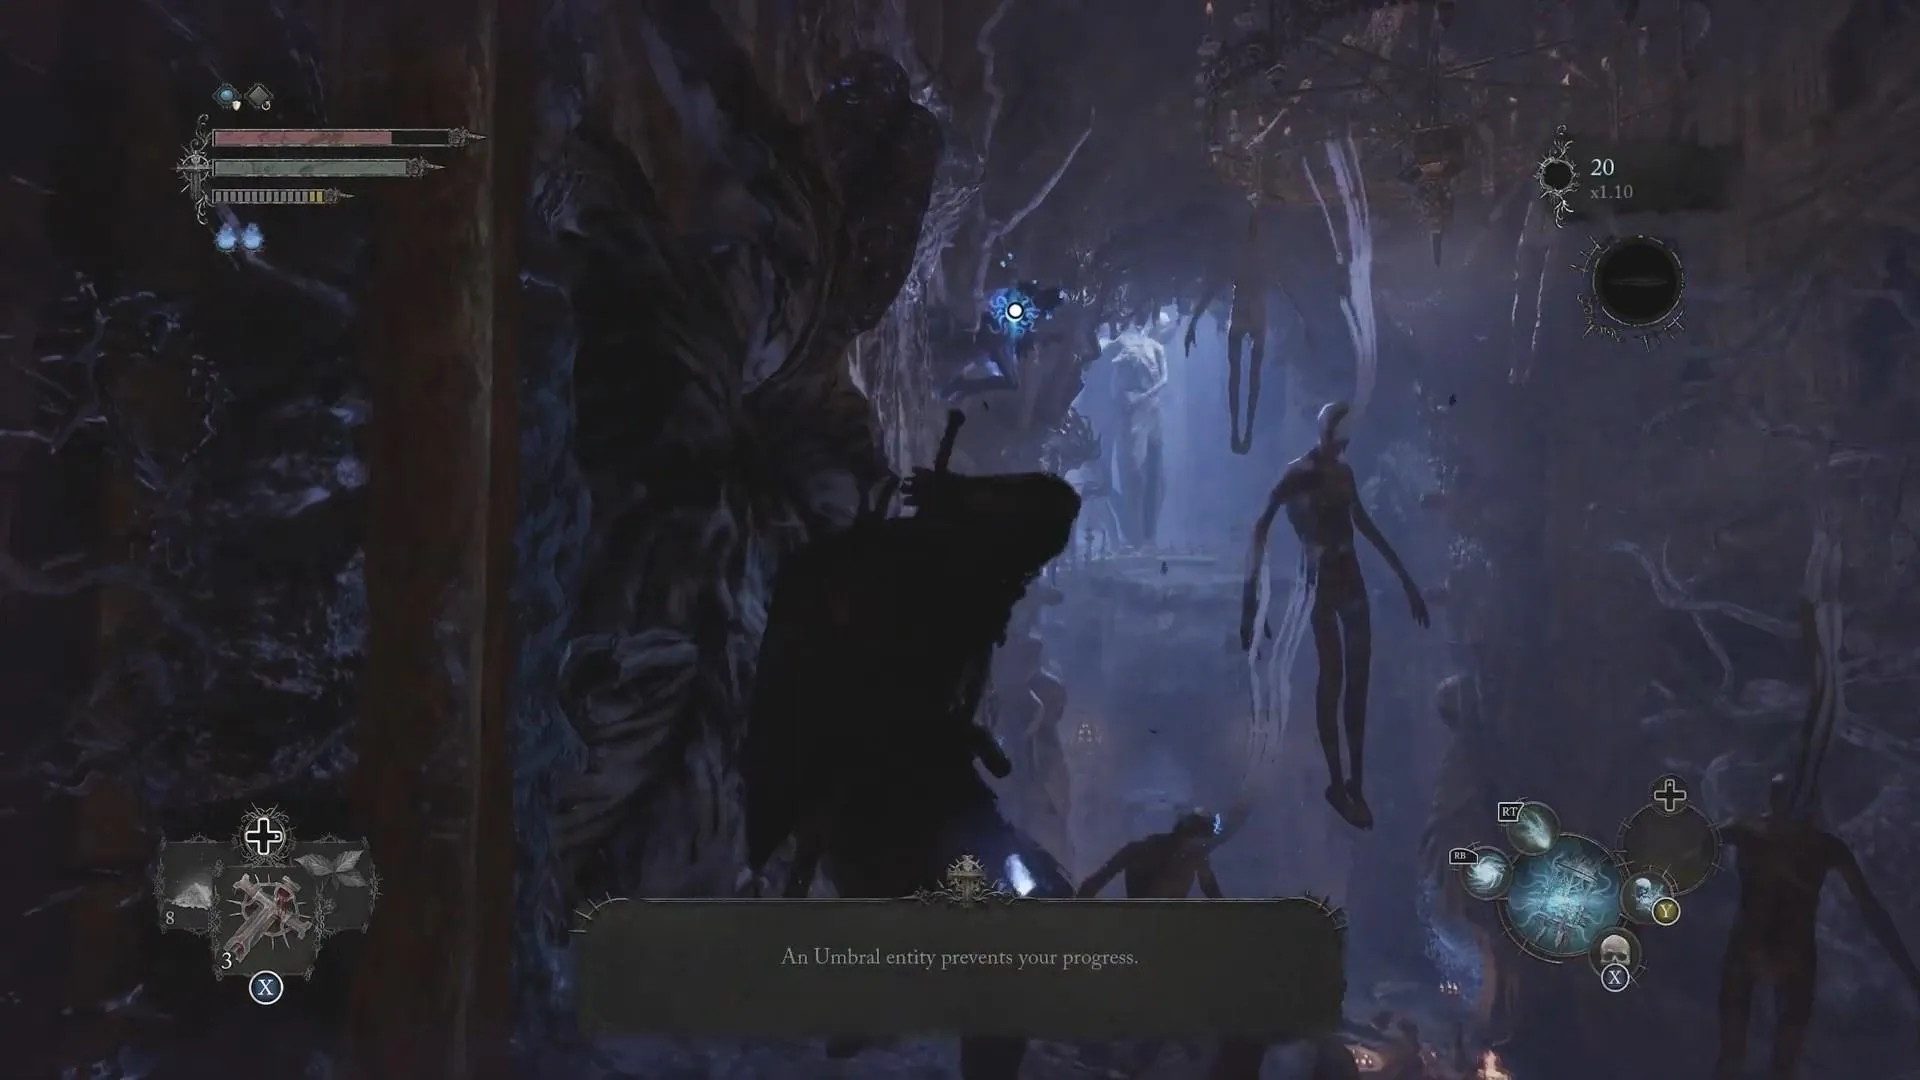
Switch to the Umbral realm.
-
Look for a ladder off to the side of the causeway, leading to an Umbral entity blocking a doorway.
-
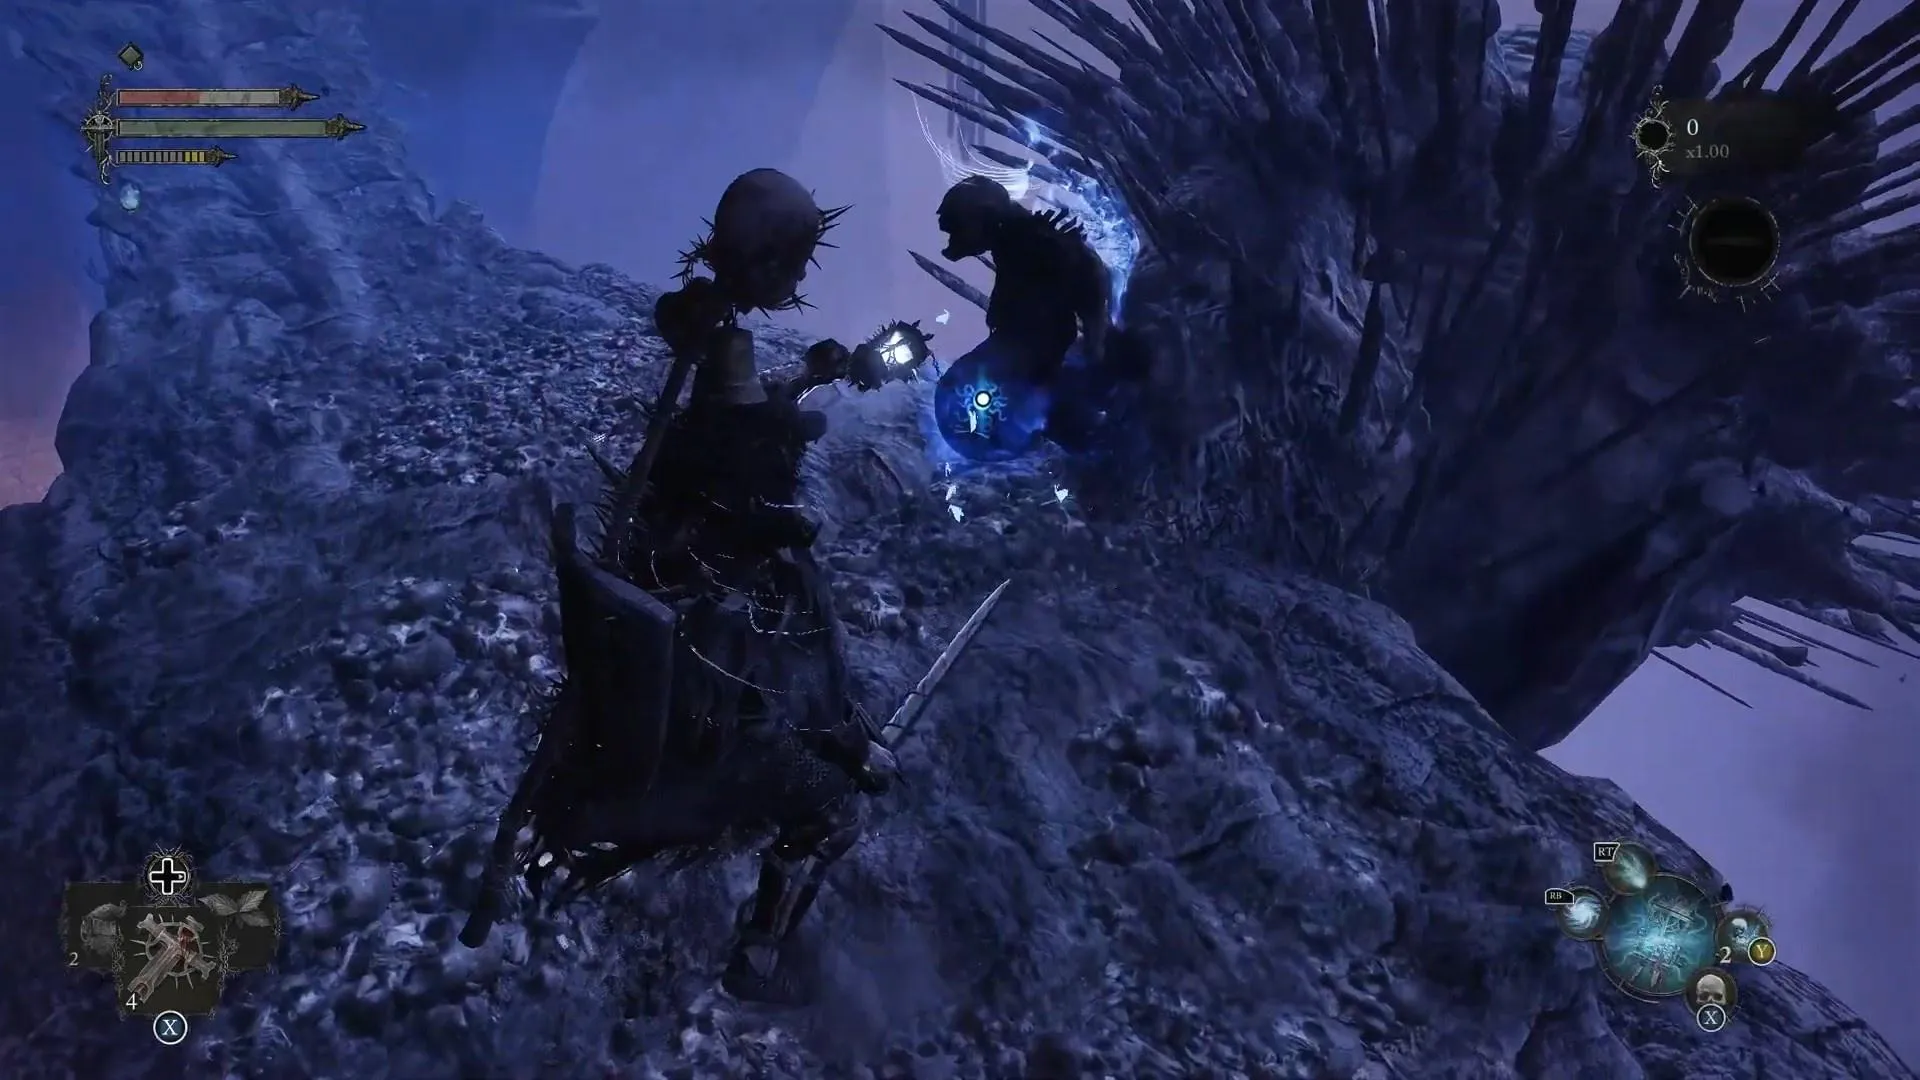
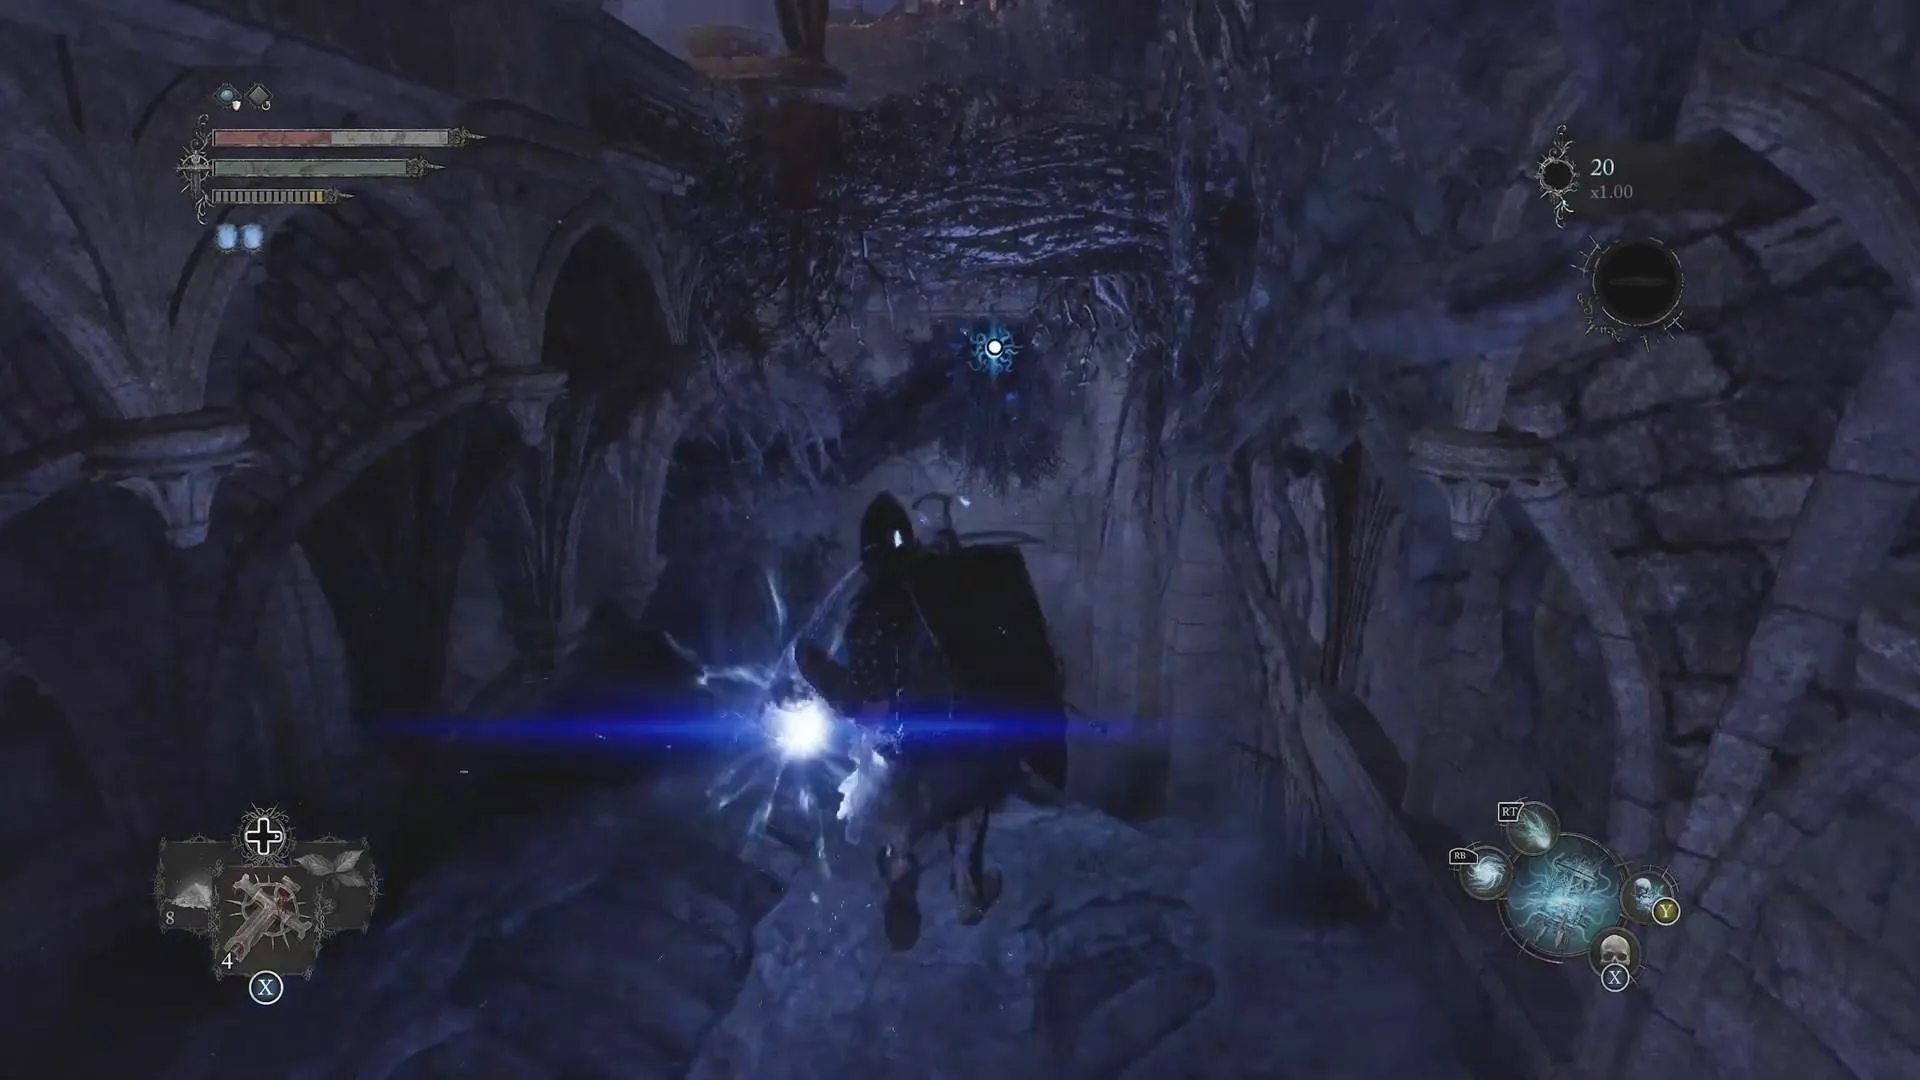
Eliminate the Umbral entity by finding and using the Umbral lamp to Soulflay three hidden corpses located around the room. Here's where you'll find them:
- The first corpse is on the right of the platform with the Umbral entity that you can access by climbing the ladder.
Hexworks - The second corpse is in the central part of the crypt, slightly above and to the left after leaving the causeway.
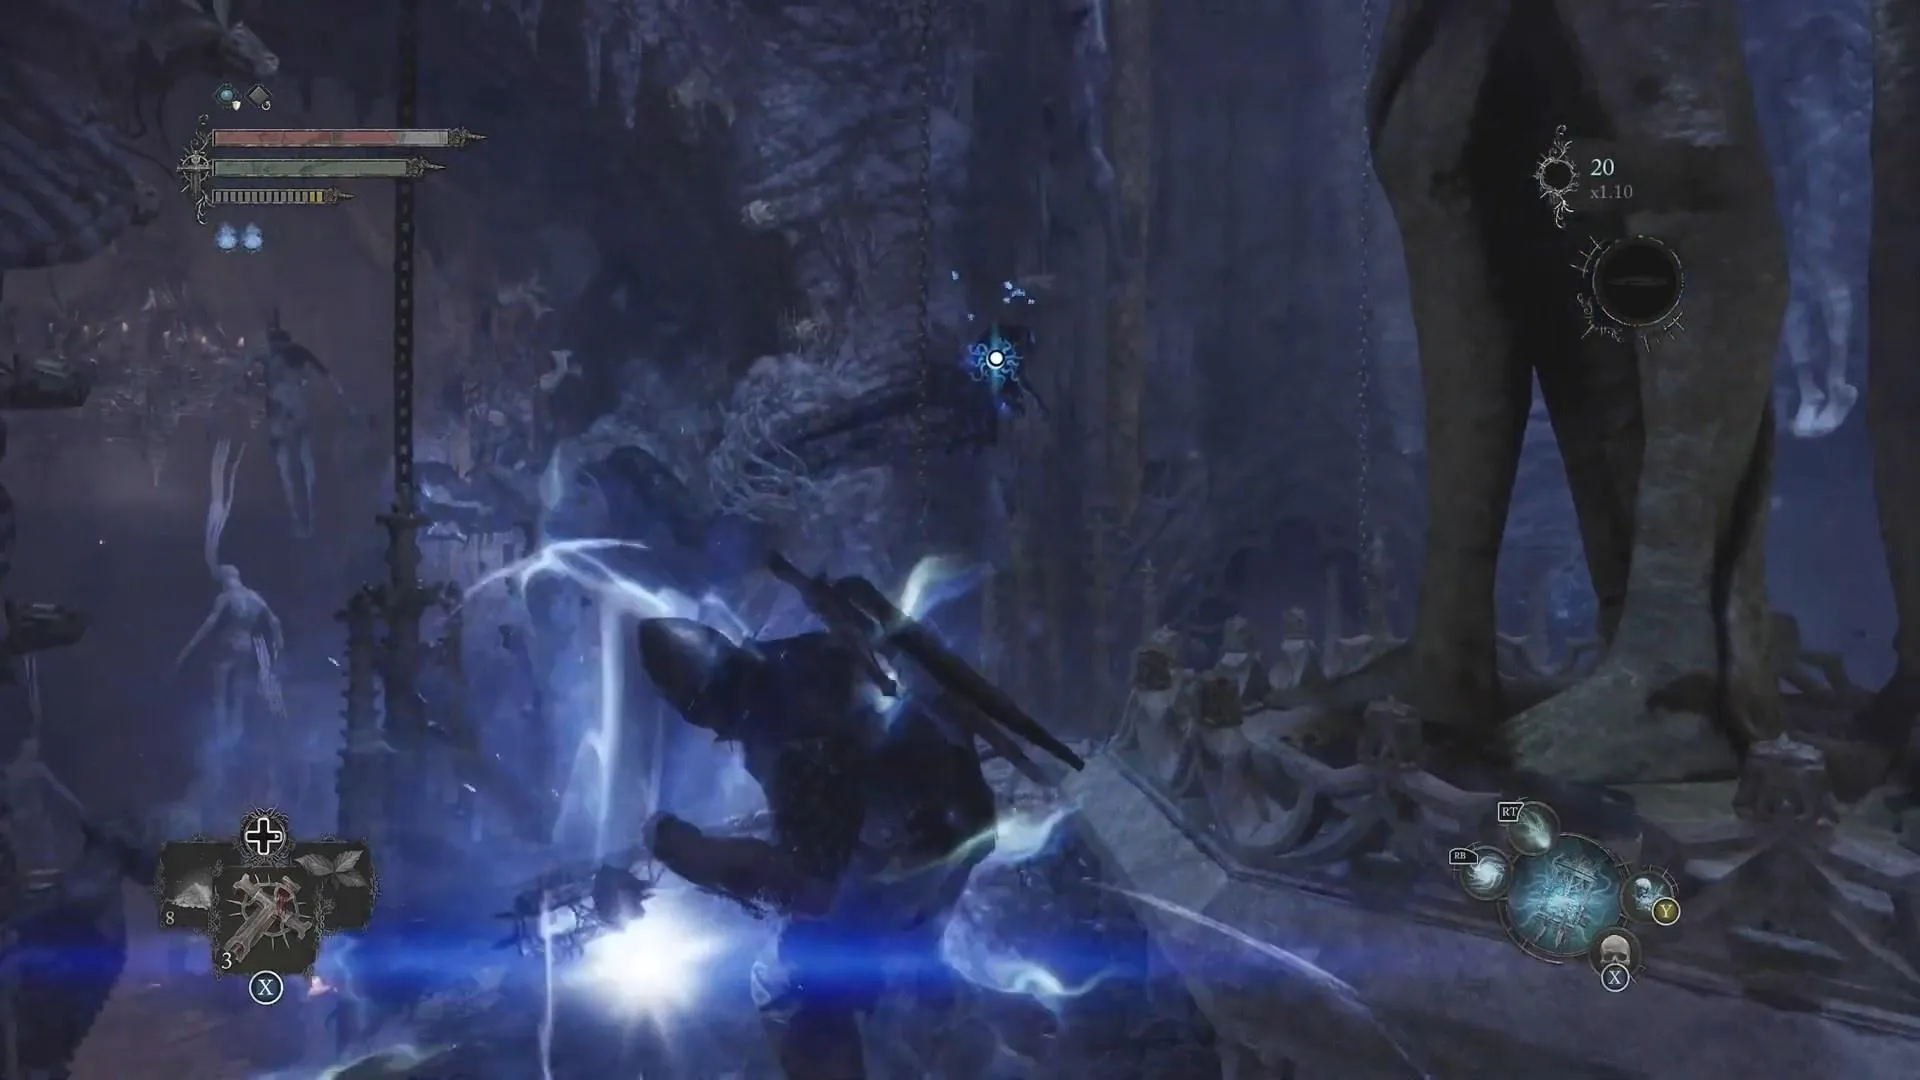
Hexworks - The third corpse is down to the side of the causeway. You'll see a ladder leading to a platform opposite it, but you can't reach the corpse from there. Instead, stand on the higher platform on the other side and use Soul Flay to pull the platform closer. Then, drop down onto it and Soul Flay the corpse.
Hexworks
- The first corpse is on the right of the platform with the Umbral entity that you can access by climbing the ladder.
Once you've Soulflayed all three corpses, the Umbral entity will vanish, revealing another corpse. You can Soulflay this final corpse to obtain the Searing Accusation spell casting item.
Step 4: Give the Item to the Tortured Prisoner
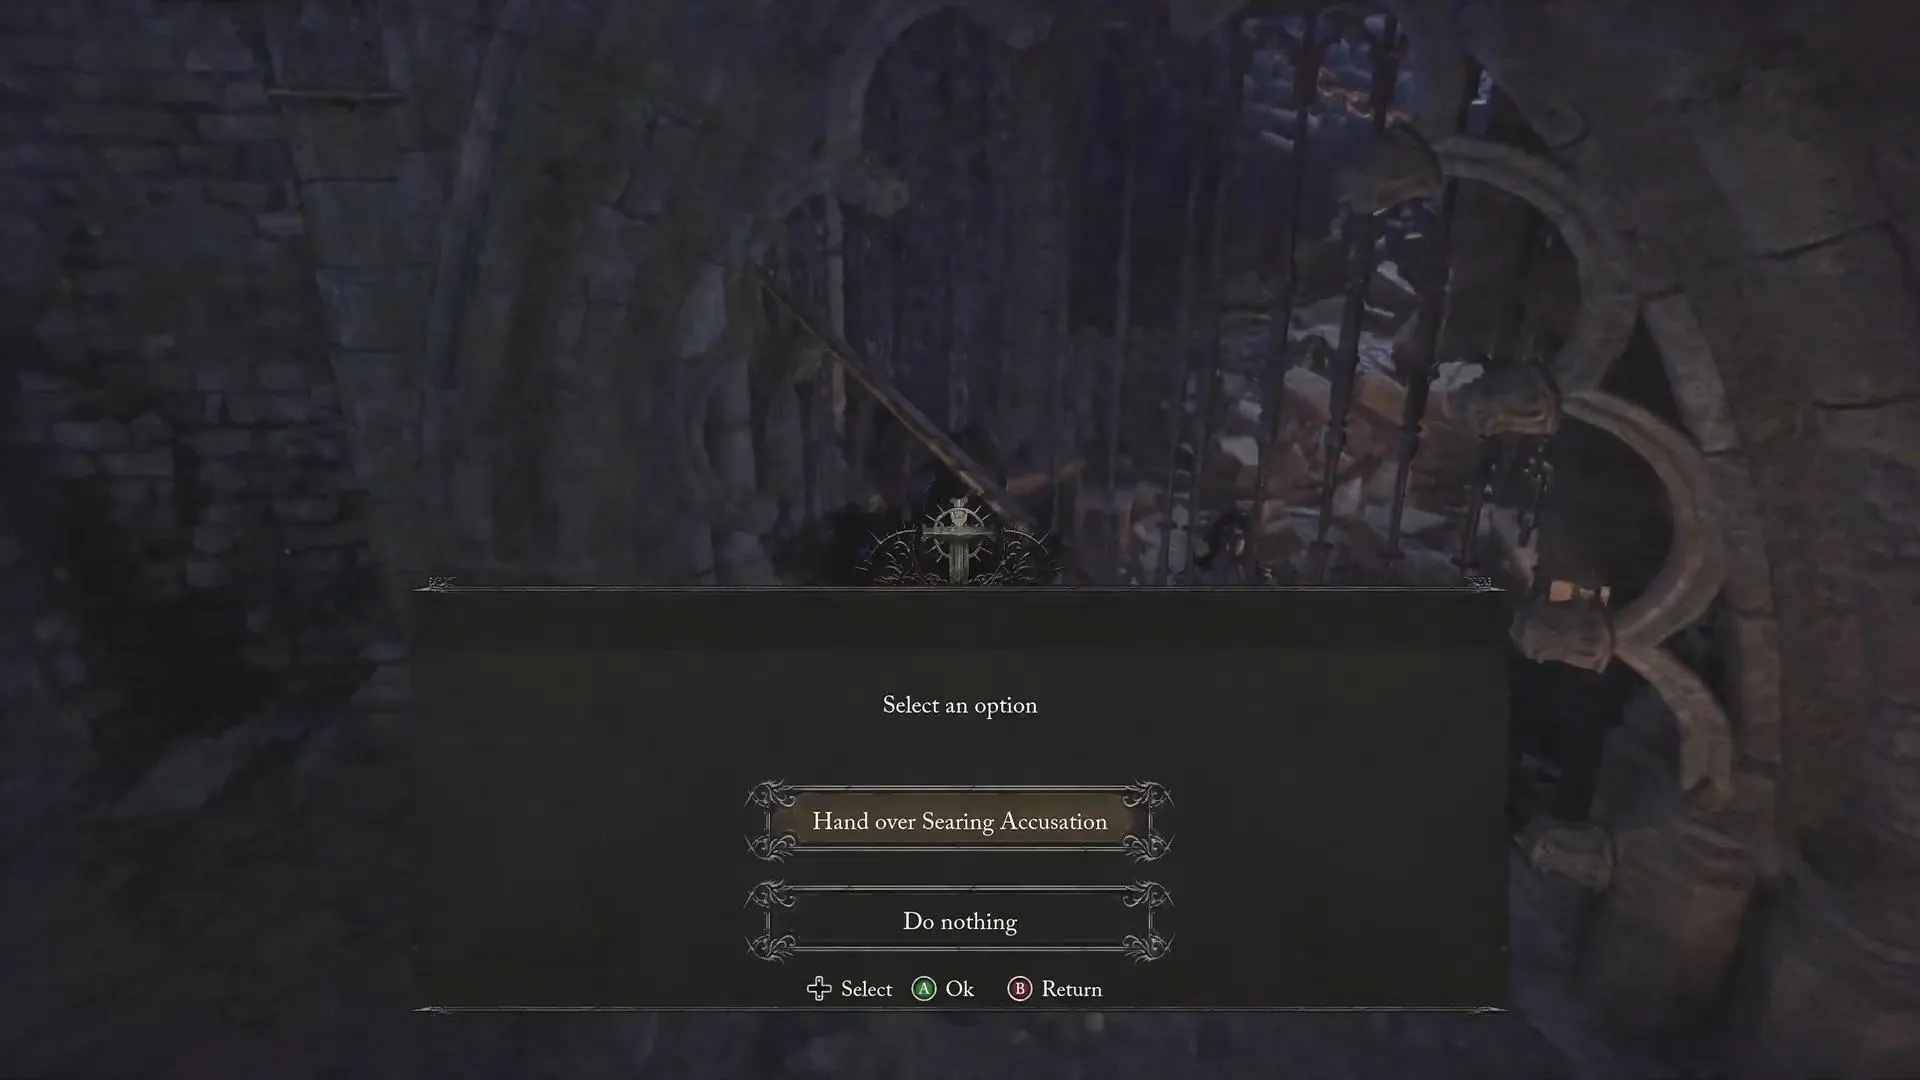
Now that you have the Searing Accusation item, return to the Tortured Prisoner's cell and give it to her. Afterward, when you rest at a vestige, she will relocate, leaving her cell empty except for the Tortured Prisoner's Head Cage helmet.
Advertisement
Step 5: Find the Tortured Prisoner
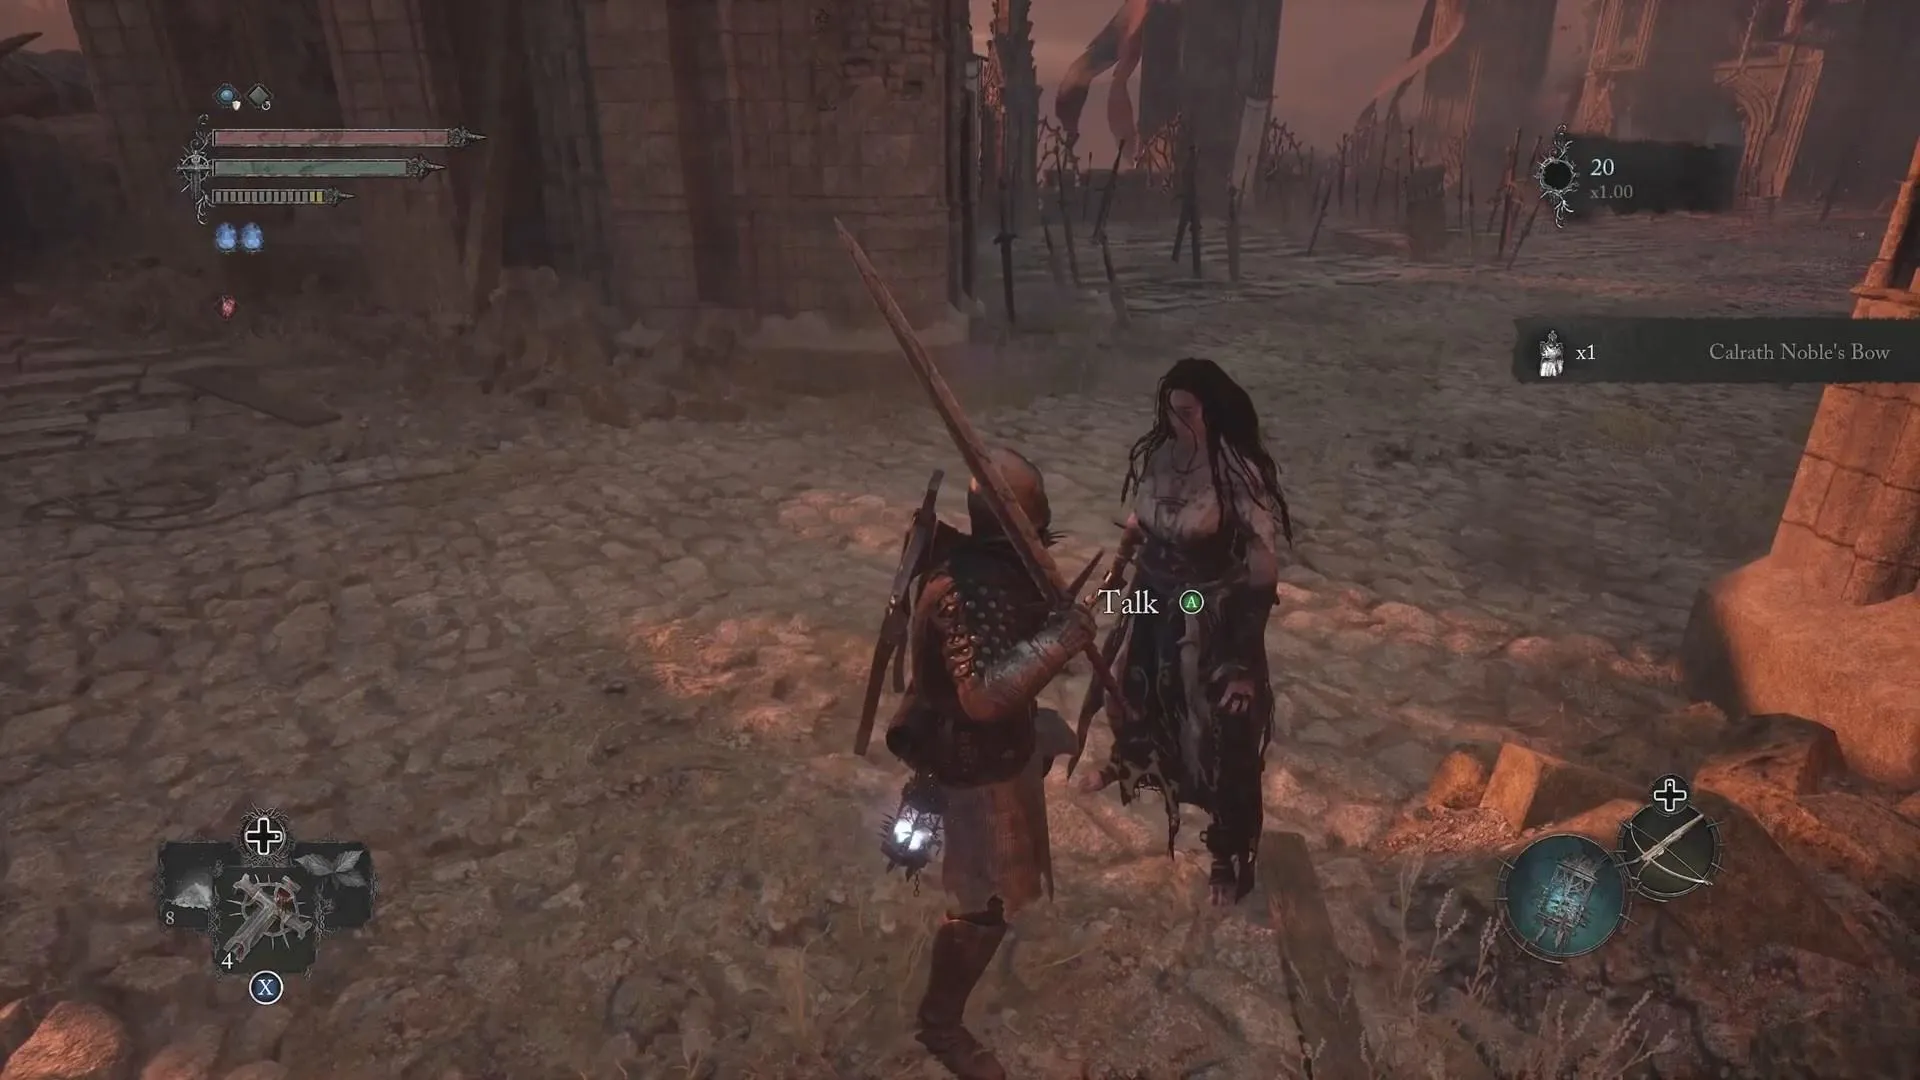
You can now locate the Tortured Prisoner at the entrance to Pieta's boss arena. Here, she will offer you pyromancy spells and an Inferno Catalyst, enhancing your pyromancy abilities. If you bring her the Giant Eyeball after defeating the Spurned Progeny boss in Calrath, she will also return the Searing Accusation casting item that you gave to her earlier. However, she will then move to the boss arena instead.
By following these steps, you'll successfully rescue the Tortured Prisoner and unlock her valuable pyromancy offerings in Lords of the Fallen.
Advertisement