World of Warcraft Season of Discovery has introduced a new 10-man raid with 7 different bosses for you to conquer during Phase 1. Blackfathom Deeps has been fashioned into the first Raid for SoD with more to come in the following phases. You can check out our comprehensive guide for all of the bosses in BFD here.
Since you are capped at level 25 during Phase 1 of Season of Discovery, this raid will introduce you to some basic mechanics and things to look out for when facing other PvE threats. We are providing a quick rundown of what to expect when encountering Gelihast as the fourth boss of the raid. Let's see what threats lurk in the depths below Ashenvale!
Advertisement
WoW SoD BFD Raid Gelihast Abilities
Gelihast is the 4th boss in the instance for you to take down. This fight will be centered around avoiding AoE damage, managing his fear ability and mitigating shadow damage as much as possible.
Curse of Blackfathom
- Ramping damage curse, must be dispelled.
Shadow Crash
- Creates a purple reticle on the ground, and throws an arcing shadow bolt at it. Players must move out of it to avoid damage.
Shadow Strike
- Applies this debuff to his current target, increasing shadow damage taken per stack.
Fear
- Applies a fear to a random target, causing them to flee in fear. Lasts 4 seconds, dispellable.
March of the Murlocs
- Summons an army of murlocs that swarm the room, must be avoided.
Ground Rupture
- Summons a handful of Blackfathom Tendrils with low HP, they deal melee damage and cast Mind Flay.
Advertisement
WoW SoD BFD Raid Gelihast Encounter

The boss stands at the back of the cave. It is crucial to bring in a class that can remove curses as Curse of Blackfathom can be very difficult to deal with. The tank should pull Gelihast to the middle of the room so that every player can spread out and handle his Shadow Crash ability.
The tank and off tank should swap aggro to avoid getting too many Shadow Strike stacks as the damage can quickly start shredding your health. The healers should focus on dispelling his Fear ability and dealing damage to the boss.
Advertisement
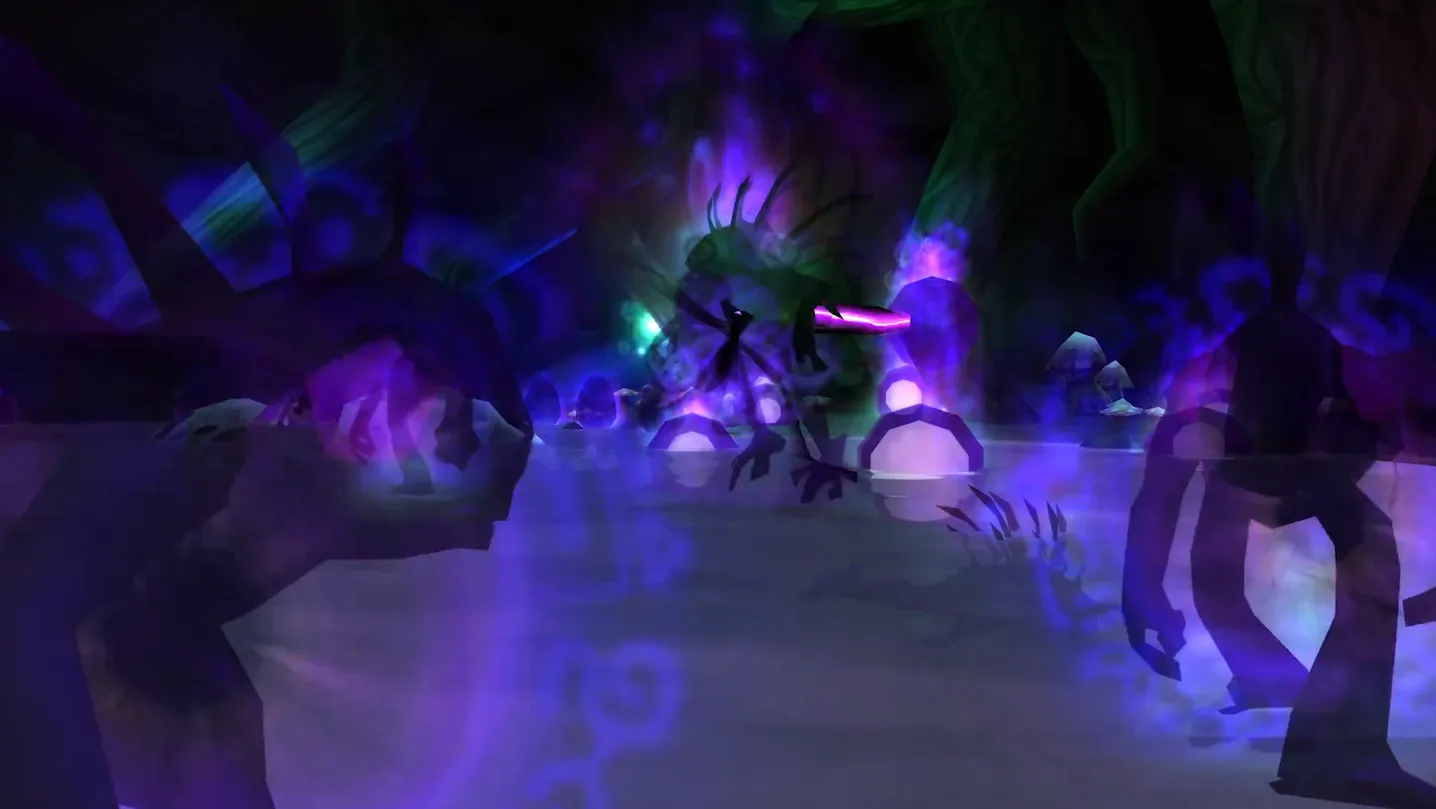
Upon reaching 10% HP the boss will quickly run back to an altar where he will begin channeling to restore his HP. During this channel, March of Murlocs will begin spawning dozens of shadow murlocs that run in a straight line so make sure to avoid them as they deal a lot of damage. Make sure to also dodge his Shadow Crash ability.
The boss then heals to max health and you repeat the same cycle, the boss will run back to the altar, March of Murlocs will begin sending new murlocs, and the same priorities will apply to all players.
The final stage will also spawn Blackfatom Tendrils from the ground which DPS players must focus down before returning to damaging the boss. This boss encounter will require you to be vigilant during the entire fight to avoid any unnecessary damage and make sure you deal with his Fear and Curse of Blackfathom abilities.
Joardee has made an amazing video for all of the bosses in Blackfathom Deeps so we highly recommend checking it out for yourselves, here:
Advertisement