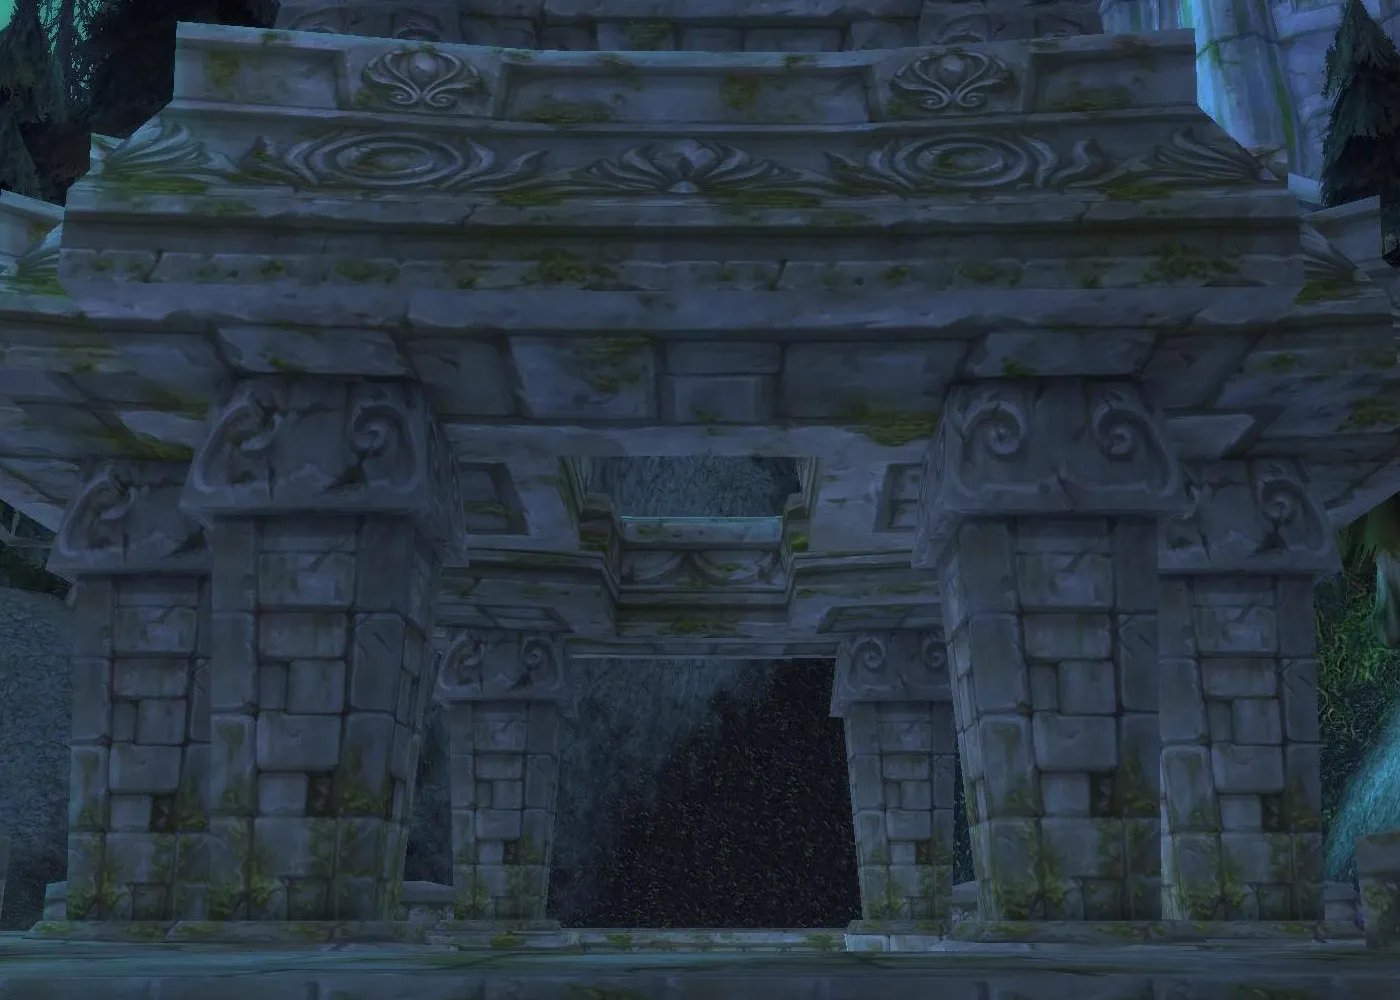
World of Warcraft Season of Discovery has introduced a new 10-man raid with 7 different bosses for you to conquer during Phase 1. Blackfathom Deeps has been fashioned into the first Raid for SoD with more to come in the following phases.
Since you are capped at level 25 during Phase 1 of Season of Discovery, this raid will introduce you to some basic mechanics and things to look out for when facing other PvE threats. We are providing a quick rundown of what to expect when encountering all of the bosses in the raid. Let's see what threats lurk in the depths below Ashenvale!
WoW SoD Blackfathom Deeps Raid Bosses:
Advertisement
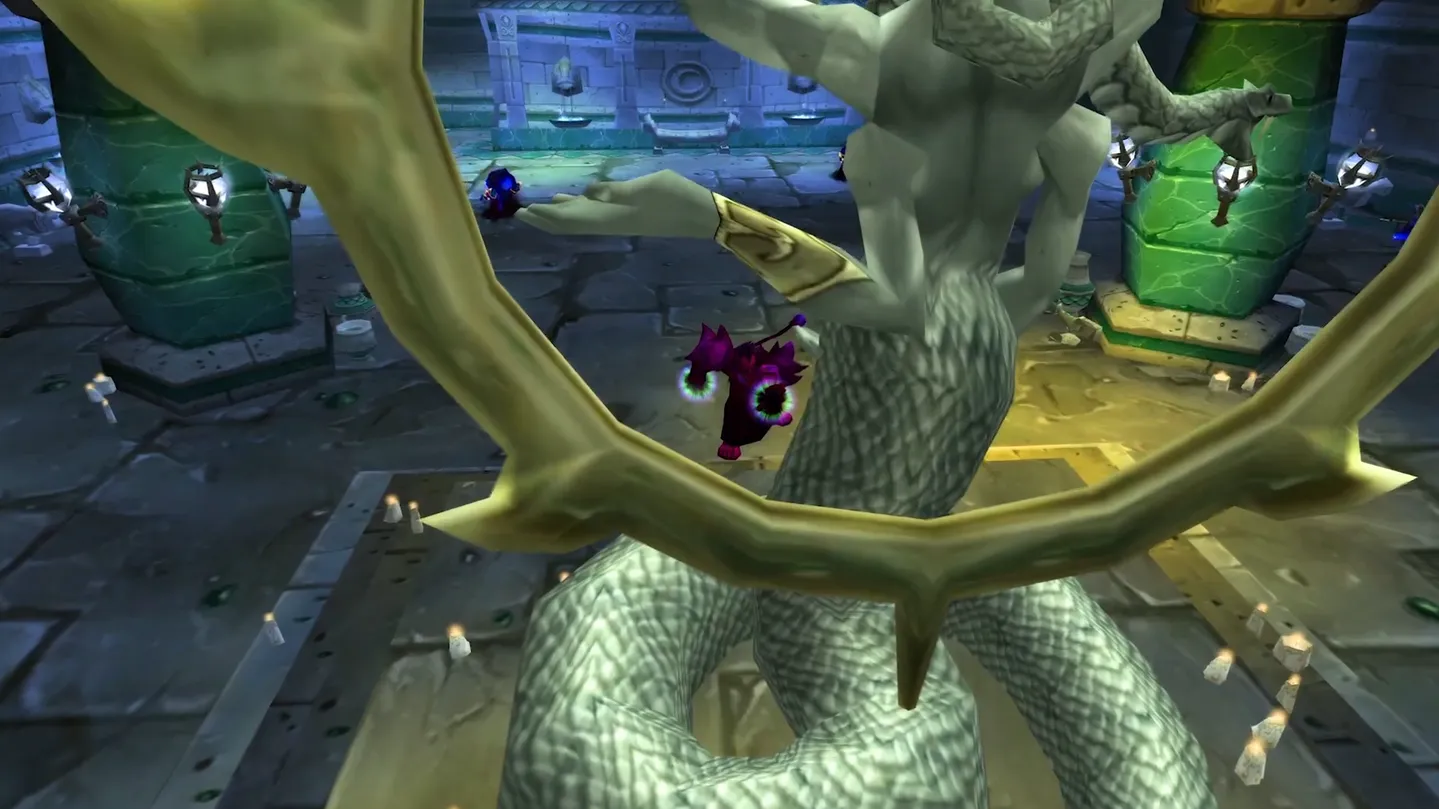
WoW SoD BFD Raid Baron Aquanis Abilities
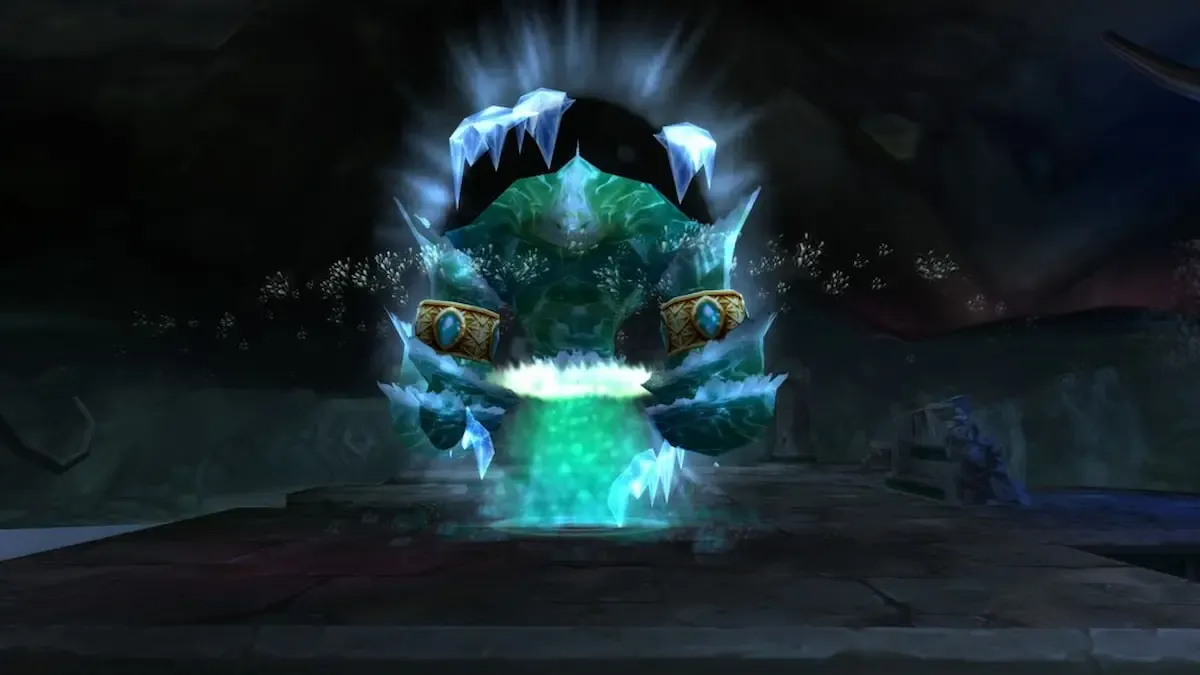
Baron Aquanis is the 1st boss in the instance for you to take down. This fight will be centered around avoiding his knockback mechanic.
Greater Frostbolt
- Inflicts 185 frost damage and slows the target by 40%.
Bubble Beam
- 10-second cast, knocks back anyone hit by it in front of Baron Aquanis.
Depth Charge
- Debuff that once it expires inflicts 231 frost/arcane damage and knocks back anyone within a close distance.
Torrential Downpour
- Area of effect over a target area, inflicts 115 damage every 2 seconds to anyone standing in it.
Advertisement
WoW SoD BFD Raid Baron Aquanis Encounter
The first boss can be quite tricky as he requires good spacing and adequate positioning. Make sure to clear the room of all enemies as there is a high chance of pulling unwanted mobs. Every member will need to position on separate platforms so that the damage from Torrential Downpour can be mitigated as much as possible.
15 seconds into the fight, Baron Aquanis will cast his first Depth Charge so the player will need to immediately jump in the water to prevent any unnecessary knockbacks onto your group.
30 seconds into the pull, the boss will cast Bubble Beam and slowly turn clockwise. This beam will knock back all melee-range players standing in front of him, so both the tank and DPS should be standing behind him at all times.
Make sure to always spread out when Torrential Downpour is up and avoid knocking back your group and this fight should be easily won.
Advertisement
WoW SoD BFD Raid Ghamoo-Ra Abilities
Ghamoo-Ra is the 2nd boss in the instance for you to take down. This fight will be centered around his shell and bubbles.
Aqua Shell
- A big bubble surrounds Ghamoo-Ra, making him invulnerable to damage until it's removed by inflicting 100 instances of damage.
Aqua Shell
- Upon the Aqua Shell bursting, deals a large area of effect damage to everyone in the raid.
Crunch Armor
- Applies this debuff to his current target, removing 25% of the target's armor per stack.
Triple Chomp
- Attacks his current target three times in quick succession for devastating damage.
Advertisement
WoW SoD BFD Raid Ghamoo-Ra Encounter

After defeating the first boss in the instance, you will go to a small island full of neutral mobs. Make sure to kill all of the neutrals before pulling the boss. Once pulled, the tank must make sure to drag Ghamoo-ra to the center of the island so everyone can start tearing down his Aqua Shell.
You should not waste any of your cooldowns or consumables while the shell is up and you will need to look out for the small bubbles that will be chipped away from the shield. These bubbles deal damage and knock you back once you run over them, but they also restore mana.
His Crunch Armor ability is quite strong so the tank should only have 2 stacks before the off tank takes aggro. Once the Aqua Shell is destroyed, the boss will hit the entire group with a massive burst of damage so healers will need to ensure that everyone can sustain the impact.
Ghamoo-ra recasts Aqua Shell again after one minute and the cycle repeats, make sure to avoid unnecessary damage from the bubbles and you should be able to easily clear the boss.
Advertisement
WoW SoD BFD Raid Lady Saravess Abilities
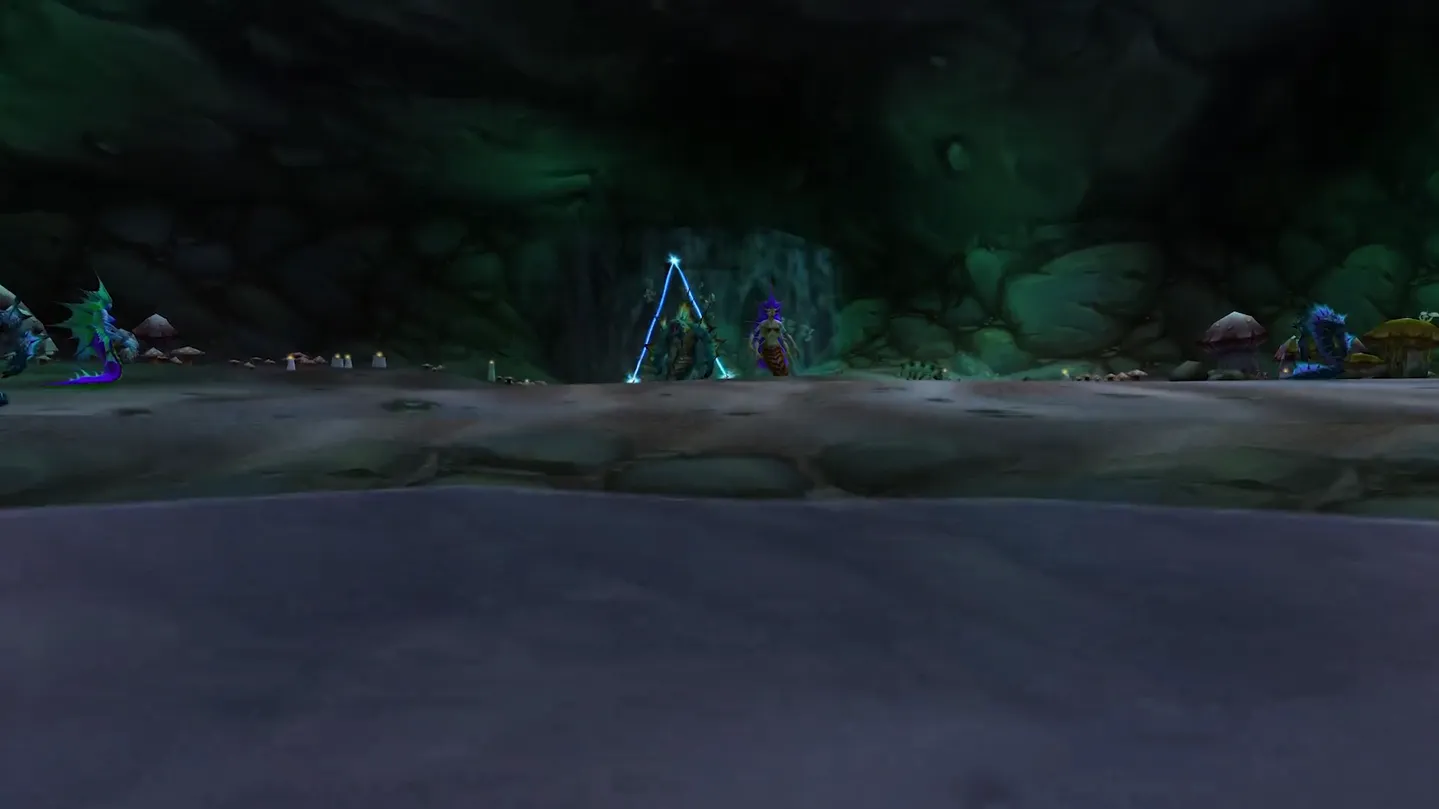
Lady Saravess is the 3rd boss in the instance for you to take down. This fight will be centered around his totems in the form of a gauntlet.
Frost Arrow
- 1.5-second cast that she'll target a random player, interruptable. Applies a slowing debuff.
Forked Lightning
- Strikes her target with nature damage and chains to nearby players. Applies the Forked Lightning debuff.
Freezing Arrow
- Applies a frost patch on the ground at the target, slowing and eventually freezing anyone that stands in it for too long.
Freezing Arrow
- Frozen solid, applied to both enemy or friendly if standing in the frost patch for too long. Lasts 10 seconds.
Advertisement
WoW SoD BFD Raid Lady Saravess Encounter
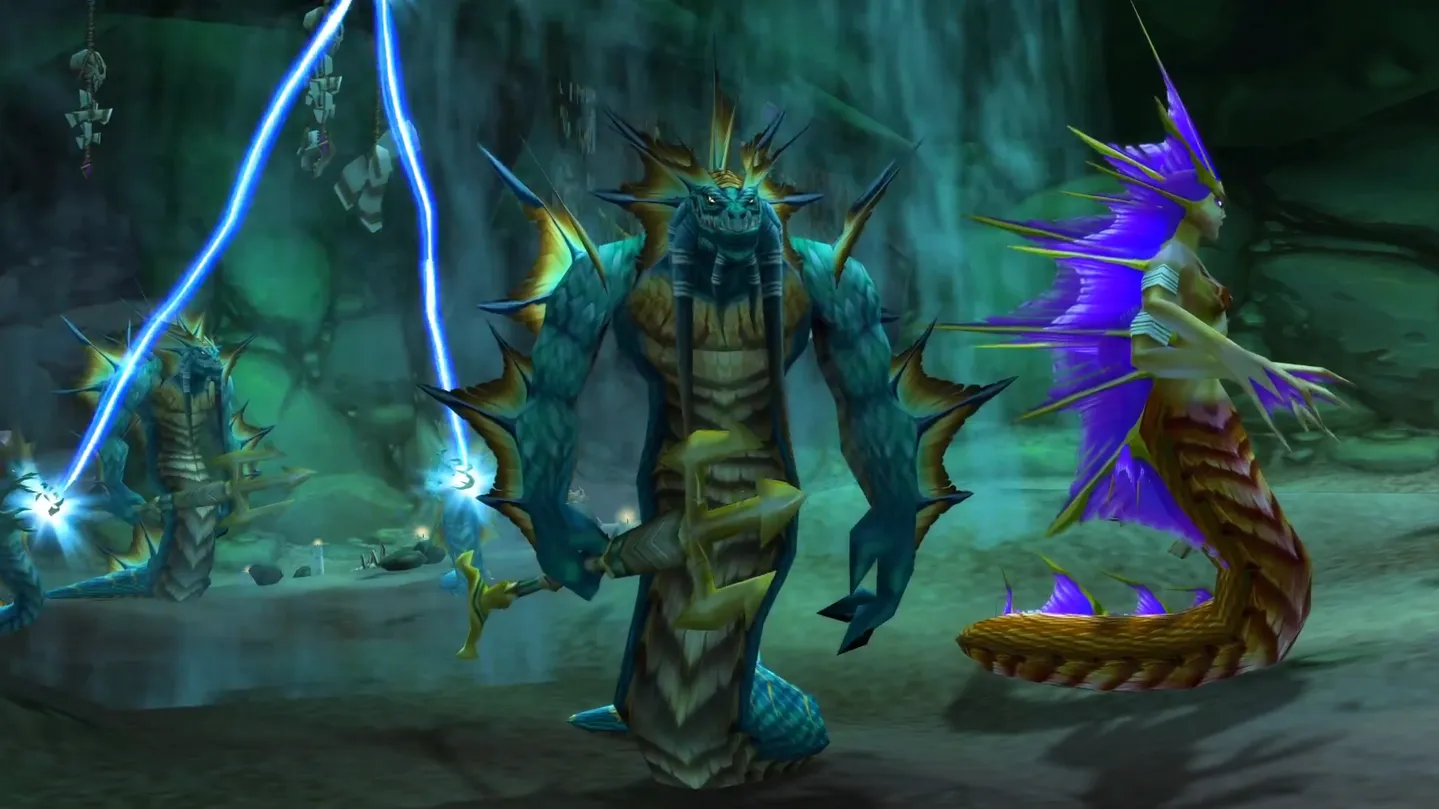
Lady Saravess has a Blackfathom Elite accompanying her, a tanky mob that will also need to be handled by an off tank while the tank handles the boss. You will need to focus all of your damage on Lady Saravess as the Elite will despawn once she is killed.
During the encounter you will need to watch out for the Freezing Arrow ability which creates a snow patch on the ground that can freeze both your party and the Elite, so you use this to your advantage to CC it for a couple of seconds.
The tank will need to position the boss away from the group as her Forked Lightning ability does a lot of damage so the DPS members should try to interrupt it every time they can. A minute into the fight, a second Elite will spawn that the off tank will need to pick up. This is a very simple fight, and the second Elite should not be a problem as by that time Lady Saravess should be very low.
Advertisement
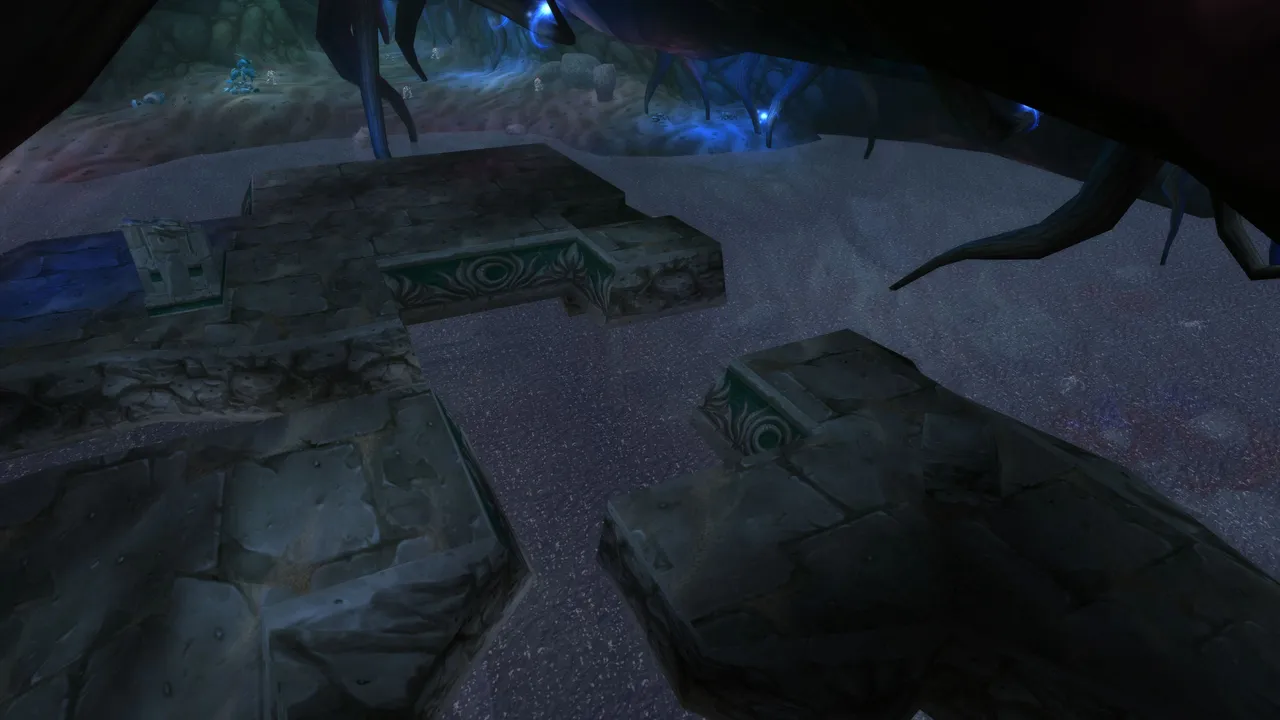
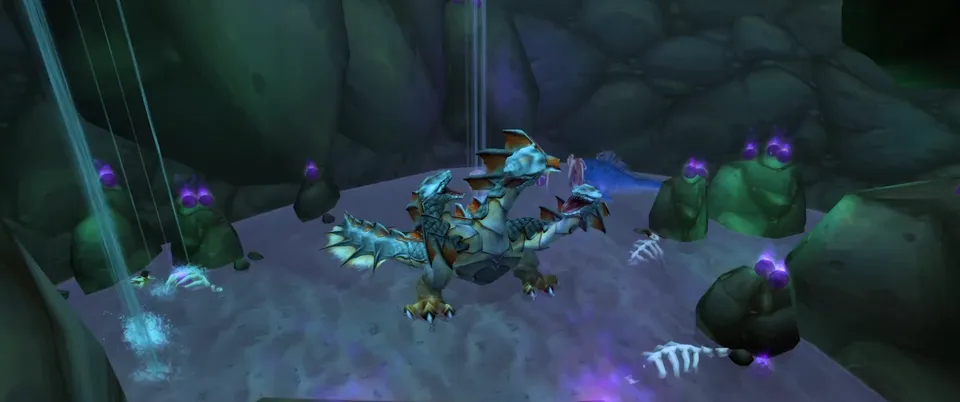
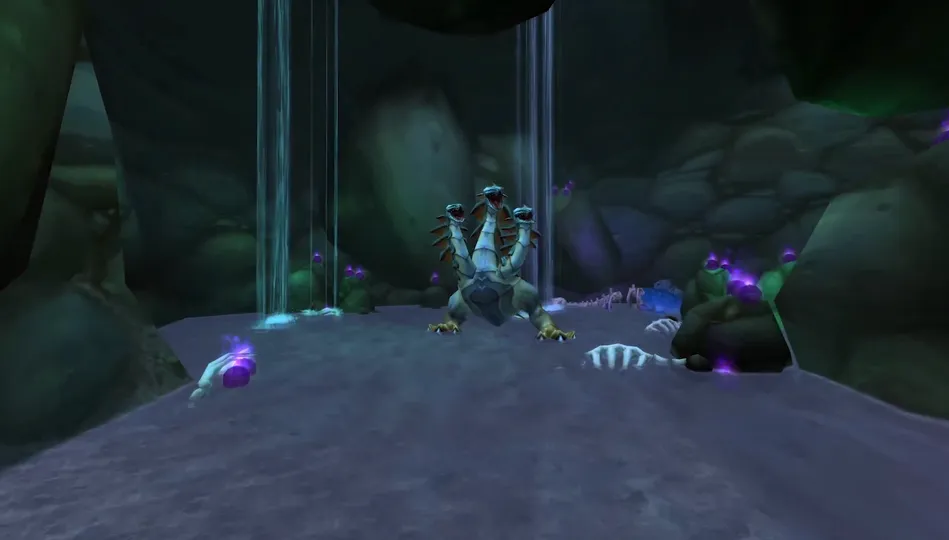
WoW SoD BFD Raid Gelihast Abilities
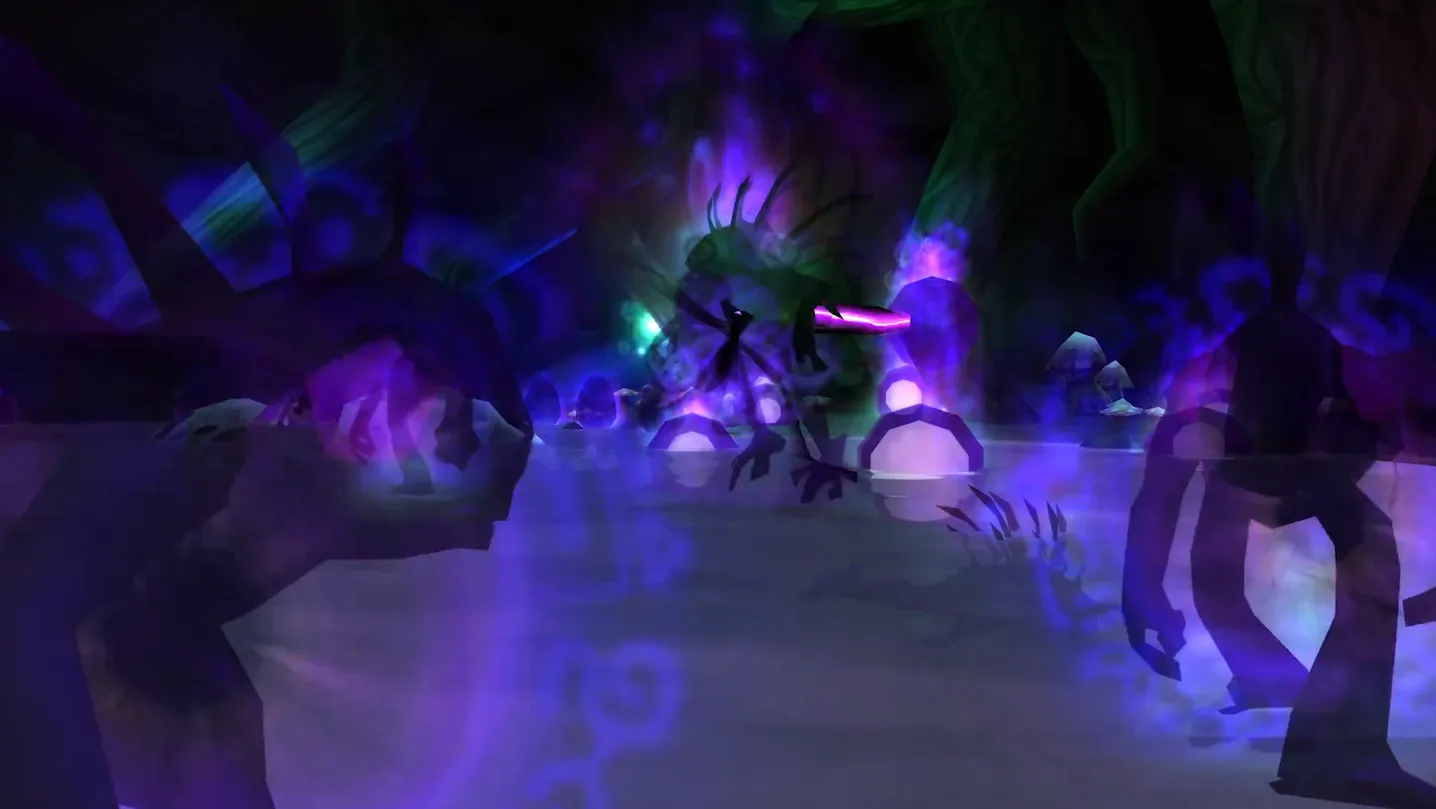
Gelihast is the 4th boss in the instance for you to take down. This fight will be centered around avoiding AoE damage, managing his fear ability, and mitigating shadow damage as much as possible.
Curse of Blackfathom
- Ramping damage curse, must be dispelled.
Shadow Crash
- Creates a purple reticle on the ground, and throws an arcing shadow bolt at it. Players must move out of it to avoid damage.
Shadow Strike
- Applies this debuff to his current target, increasing shadow damage taken per stack.
Fear
- Applies a fear to a random target, causing them to flee in fear. Lasts 4 seconds, dispellable.
March of the Murlocs
- Summons an army of murlocs that swarm the room, must be avoided.
Ground Rupture
- Summons a handful of Blackfathom Tendrils with low HP, they deal melee damage and cast Mind Flay.
Advertisement
WoW SoD BFD Raid Gelihast Encounter

The boss stands at the back of the cave. It is crucial to bring in a class that can remove curses as Curse of Blackfathom can be very difficult to deal with. The tank should pull Gelihast to the middle of the room so that every player can spread out and handle his Shadow Crash ability.
The tank and off tank should swap aggro to avoid getting too many Shadow Strike stacks as the damage can quickly start shredding your health. The healers should focus on dispelling his Fear ability and dealing damage to the boss.
Advertisement
Upon reaching 10% HP the boss will quickly run back to an altar where he will begin channeling to restore his HP. During this channel, March of Murlocs will begin spawning dozens of shadow murlocs that run in a straight line so make sure to avoid them as they deal a lot of damage. Make sure to also dodge his Shadow Crash ability.
The boss then heals to max health and you repeat the same cycle, the boss will run back to the altar, March of Murlocs will begin sending new murlocs, and the same priorities will apply to all players.
The final stage will also spawn Blackfatom Tendrils from the ground which DPS players must focus down before returning to damaging the boss. This boss encounter will require you to be vigilant during the entire fight to avoid any unnecessary damage and make sure you deal with his Fear and Curse of Blackfathom abilities.
Advertisement
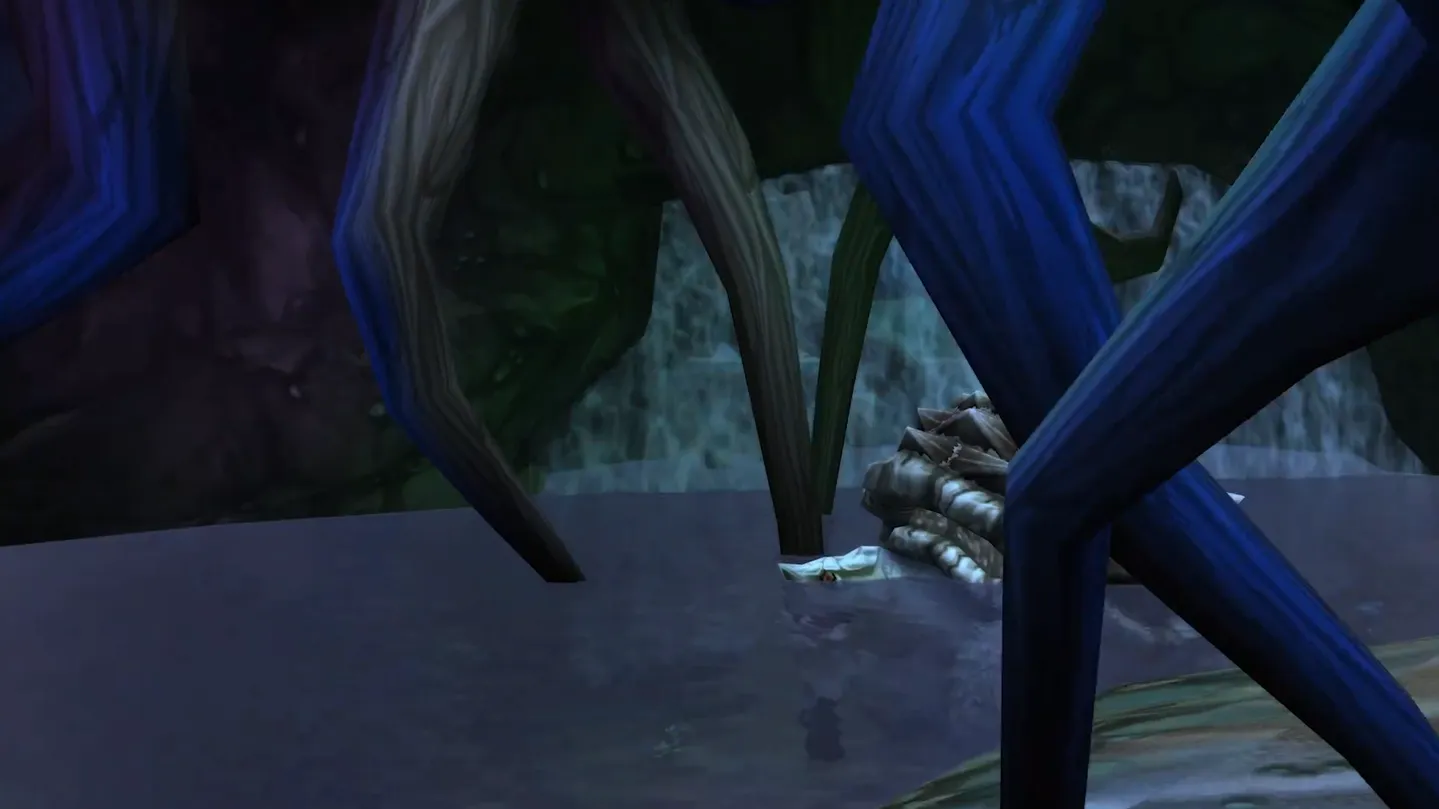
WoW SoD BFD Raid Lorgus Jett Abilities
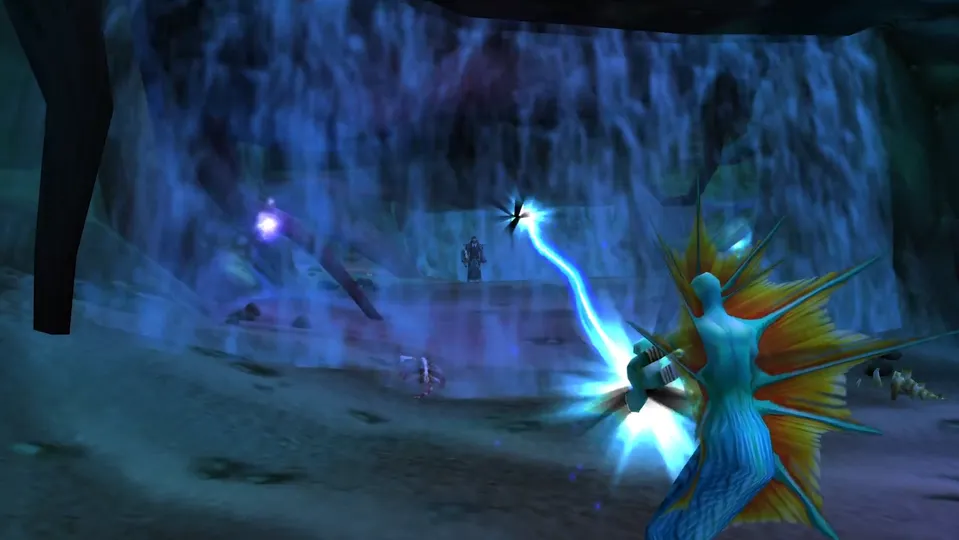
Lorgus Jett is the 5th boss in the instance for you to take down. This fight will be centered around his totems in the form of a gauntlet.
Corrupted Lightning Shield Totem
- Summons a Corrupted Lightning Shield Totem, buffing Lorgus Jett with a thorns effect that deals 200 damage per hit to anyone attacking him.
Corrupted Windfury Totem
- Summons a Corrupted Windfury Totem, buffing Lorgus Jett with Windfury, allowing him to attack multiple times in a single instance.
Corrupted Molten Fury Totem
- Summons a Corrupted Molten Fury Totem which creates a slow-moving fiery boulder that will track players and deal damage to anyone it hits.
Advertisement
WoW SoD BFD Raid Lorgus Jett Encounter

You will first have to face a gauntlet consisting of Murlocs and Naga with each wave separated by 3 different waterfalls before reaching Lorgus Jett himself. Once you have killed all of the Naga, the boss will engage you so make sure to kill all of the Murlocs as well.
During the encounter, Lorgus Jett will summon three totems, one every 10 seconds, in this pattern: Corrupted Windfury Totem, then Corrupted Lightning Shield Totem, and finally Corrupted Molten Fury Totem. Keep in mind that he will continue with this exact order and will not attempt to recast destroyed totems.
The DPS will need to focus down the Corrupted Lightning Shield Totem as soon as it is placed as the other two totems can be ignored. A pretty straightforward fight as the toughest part might be dealing with all of the adds before the boss. Make sure to use your AoE spells and interrupt any enemy casters trying to heal.
Advertisement
WoW SoD BFD Raid Twilight Lord Kelris Abilities
Twilight Lord Kelris is the 6th boss in the instance for you to take down. This fight will be centered around his shell and bubbles.
Mind Blast
- 1.5-second cast shadow damage spell, cast on the player second on threat. Interruptible until phase 2.
Shadowy Chains
- 1.5-second cast shadow damage spell that chains to anyone nearby, dealing damage and applying a magic DoT that ticks for 70 damage per second. Must be cleansed. Interruptible until phase 2.
Shadow Crash
- Lobs a shadow bolt at the targeted player, dealing damage and leaving a large pool of damaging shadow magic. Avoid it by running out of the reticle.
Sleep
- The two players closest to Twilight Lord Kelris get sent to the dream realm, removing them from the battle until they find a way to escape.
Enrage
- At 35% Twilight Lord Kelris absorbs the Invading Nightmare's in the room and gains a damage buff, as well as becoming uninterruptible.
Advertisement
WoW SoD BFD Raid Twilight Lord Kelris Encounter

This boss fight has two phases, with the second one starting once his HP reaches 35%. In his second phase, all of his spells become uninterruptible and he has increased damage so all players will need to save their important cooldowns and consumables for this phase.
Phase 1
The tank should pull the boss where he stands while the ranged players should form a ball at max range and be vigilant to move out once he starts casting Shadow Crash. He will then begin channeling Mind Blast so make sure to interrupt it as soon as possible. Players should also look out for his Shadowy Chains cast and interrupt it as it can straight up wipe the group if left unchecked.
His Sleep ability will send the two closest to the boss players to the dream realm. They will need to escape it as soon as possible by killing the neutral Phantasmal Priestesses that worship near small statues. There are also Invading Nightmares which Twilight Lord Kelris absorbs for increased damage during his second phase, but they have too much HP to be dealt with accordingly.
Once these mobs get to low HP they will turn into Blackfathom Tendrils. Upon death, there is a chance a small portal will spawn that you need to click to return to the boss fight. Keep in mind that you have 30 seconds before all of the mobs become hostile and attack you.
Another thing to note is that the boss will not immediately target the same players who were under his Sleep ability so you will need to rotate players by ensuring you have enough fighting power and utility for the rest of the group to handle the boss' mechanics.
Advertisement
Phase 2
Once Kelris reaches 35% HP, he cannot be interrupted so make sure to spread out to mitigate all of the Shadowy Chains damage as much as possible. Hunter pets and melee classes will need to split into groups of two so that they do not chain the ability and hit the tanks and the ranged classes will need to look out for the tough DoT that comes from the Shadow Crash location.
This boss might require some potions to keep your healers from wasting too much mana on healing the raid. Shadow Protection Potion and Minor Magic Resistance Potion go a long way in terms of your group's survivability.
Overall, the group will need to play around his Shadowy Chains, Sleep, and Shadow Crash abilities to ensure that the damage is split evenly without causing unnecessary wipes.
Advertisement
WoW SoD BFD Raid Aku'mai Abilities
Aku'mai has several abilities you need to look out for. We will take a look at all of them so you can better understand how to deal with this tough final boss in Season of Discovery Phase 1.
Hateful Bite
- Aku'mai turns and bites the target with the highest threat other than the current tank, similar to Patchwerk.
Corrosion
- A stacking debuff that deals 50 damage every 3 seconds that he applies with his other abilities.
Corrosive Blast
- Every 20 seconds, Aku'mai targets a random player and after 3 seconds will channel a breath in their chosen direction, applying stacks of Corrosion to anyone hit. Must be avoided.
Dark Protection
- At 50% HP Aku'mai casts this, reducing the damage he takes by 99% until his phase transition is complete.
Shadow Seep
- A stacking debuff that reduces max HP by 10% and increases shadow damage taken by 25% that he applies with his other abilities.
Void Fang
- Once he's sub 50%, he'll replace Corrosive Bite with this, applying a stack of Shadow Seep.
Void Blast
- Once he's sub 50%, he'll replace Corrosive Blast with this, applying stacks of Shadow Seep.
Cleansing Pool
- At each corner of the room, these pools will cleanse anyone who steps inside of either Corrosion or Shadow Seep but it will corrupt the pool and summon a small elemental for each stack cleansed.
Advertisement
WoW SoD BFD Raid Aku'mai Encounter
Aku'mai has two phases, the second one is reached when he gets to 50% HP. We will take a look at some basic tips for you to be able to handle the boss during both phases.
Phase 1
The tank will have to pull the boss at his spawn as the other players form a circle around Aku'mai to minimize the impact his Corrosive Blast ability might have. It is crucial to avoid all possible stacks of Corrosion as the healers will quickly be out of mana if they attempt to heal you.
Once the tank begins stacking Corrosion, they will have to quickly go to the closest Cleansing Pool so they remove the debuff once at 3-4 stacks. Keep in mind that the pool will become corrupted and it will apply stacks of Corrosion if you stand in it, as adds spawn from it for you to focus down. The unused Cleansing Pools return mana so keep that in mind.
The most important things you need to look out for are to avoid Corrosive Blast and kill the adds coming from the Cleansing Pools as quickly as possible.
Advertisement
Phase 2
Once Aku'mai hits 50% HP, he will cast Dark Protection and return to his spawn place as he visually becomes engulfed with shadow energy. His abilities will now deal shadow magic damage so keep that in mind.
Once again, the tank and off tank will have to either swap stacks of Shadow Seep or use the Cleansing Pools mechanic, but it would be ideal to simply focus down the boss if your group is feeling confident.
The most important things to look out just like in Phase 1 are to avoid any unnecessary Shadow Seep stacks and to make use of the Cleansing Pools if necessary. Your healers will thank you.
Joardee has made an amazing video for all of the bosses in Blackfathom Deeps so we highly recommend checking it out for yourselves, here:
Advertisement