
Selecting the appropriate Stratagems is crucial when preparing your loadout for each mission. Although your weapons and armor setup may remain consistent, your choice of Stratagems should vary based on the mission objectives and the enemy faction you're up against. In this guide, we'll rank all Stratagems to help you identify the best options for your arsenal in Helldivers 2.
The recent patches have shifted the potential of many Stratagems, so check out our updated tier list below.
Advertisement
Helldivers 2 All Stratagems Tier List
Here's a breakdown of all Helldivers 2 Stratagems ranked from best to worst to help you choose your loadout before starting your mission to spread democracy across the galaxy.
S Tier Stratagems in Helldivers 2
These are the best Stratagems in the game. Choosing any of them won't be a mistake.
Quasar Cannon
- Call-In Time - 3 Seconds
- Uses - Unlimited
- Cooldown Time - 480 Seconds
The Quasar Cannon is probably the best support weapon in the current patch of Helldivers 2. Essentially, it's a laser variant of the EAT, without the need for constant redeployment, and it has infinite ammo. The only drawback is the cooldown between shots. You can one-shot Chargers with carefully aimed shots at their heads. It can also eliminate Mushrooms, Shrieker Nests, and Cannon Towers from across the map. Moreover, it's the best weapon against Bile Titans, capable of taking them down with just two headshots.

Expendable Anti-Tank
- Call-In Time - 2 Seconds
- Uses - Unlimited
- Cooldown Time - 60 Seconds
The ultimate game-changer: this weapon can one-shot Chargers and is ready to go with a short cooldown. You can run any support weapon you want, as you can pick up the EAT after use. Having four players each drop these means your map will be raining rockets non-stop. It's a versatile tool that fits into any strategy.

Autocannon
- Call-In Time - 3 Seconds
- Uses - Unlimited
- Cooldown Time - 480 Seconds
After a significant rise in the ranks, the Auto Cannon now stands as a must-have against both bots and bugs. It's incredibly effective at crowd control and taking down heavy hitters. A strategic choice that leaves room for more firepower in your loadout. Remember to reload before you run out of ammo since the reload time is significantly faster.
Advertisement
Orbital Laser
- Call-In Time - 2 Seconds
- Uses - 3
- Cooldown Time - 300 Seconds
A game-changer against both bugs and bots. Its ability to clear enemies swiftly makes it a top pick, despite the risk of friendly fire. Use it to obliterate large groups of enemies, Automaton bases, or tough single targets with its impressive power.
Orbital Railcannon Strike
- Call-In Time - 1 Second
- Uses - Unlimited
- Cooldown Time - 210 Seconds
The ultimate in precision and power. Capable of one-shotting the most formidable foes, it's a must-have for dealing with heavy hitters. Its instant effect and reliability make it a favorite. The only downside is that it can sometimes miss your intended target.
Eagle 500kg Bomb
- Call-In Time - 0 Seconds
- Uses - 1
- Cooldown Time - N/A
More frequent use than the Orbital Laser but requires precise targeting due to its smaller area of effect. Delivers unmatched destructive power, making short work of bug nests and large foes. A critical tool for bug missions.
Advertisement
Shield Generator Relay
- Call-In Time - 0 Seconds
- Uses - Unlimited
- Cooldown Time - 90 Seconds
A defensive powerhouse that offers significant protection. It excels in providing cover and making engagements with Automatons a lot easier. Essential for surviving in the toughest conditions in the higher difficulties.

EMS Mortar Sentry
- Call-In Time - 0 Seconds
- Uses - Unlimited
- Cooldown Time - 180 Seconds
A strategic masterpiece, the EMS Mortar excels at crowd control by creating fields that slow down enemy hordes, allowing for easier management or escape. It's particularly effective in bug missions, providing a "free win" button by repeatedly halting enemy advances. While it requires careful placement to avoid destruction, its impact on the battlefield can dramatically alter the course of engagements, making it a top-tier choice for controlling the pace and flow of battle.
Supply Pack
- Call-In Time - 5 Seconds
- Uses - Unlimited
- Cooldown Time - 480 Seconds
We are ranking in the S tier after the Shield Generator Pack nerf. It is essential for any loadout, providing additional ammo, grenades, and stims. It's a game-changer for weapon-intensive strategies.
Advertisement
Arc Thrower
- Call-In Time - 3 Seconds
- Uses - Unlimited
- Cooldown Time - 480 Seconds
With infinite ammo and the ability to damage multiple enemies at once, it's unbeatable for horde control. The only downside is that you will need to spend some time until you get used to using it and there is a big friendly fire potential.

Shield Generator Pack
- Call-In Time - 5 Seconds
- Uses - Unlimited
- Cooldown Time - 480 Seconds
Even after the nerfs, it works wonders on all maps and against all enemies. It protects you from stuns, blocks missiles, and significantly boosts your survival chances. It's an essential tool when combined with a light Body Armor.

Eagle Airstrike
- Call-In Time - 0 Seconds
- Uses - 2
- Cooldown Time - 15 Seconds
Quick, accurate, and with a wide damage radius, this airstrike can destroy objectives and wipe out enemies swiftly. Available from level 2, it's too useful to pass up for most missions.
Advertisement
A Tier Stratagems in Helldivers 2
These Stratagems are also very strong but slightly weaker than the S Tier.

Railgun
- Call-In Time - 3 Seconds
- Uses - Unlimited
- Cooldown Time - 480 Seconds
It used to best stratagem in the game, but even after the nerfs the Railgun still holds its own. It's still a powerhouse against bots and, with precise play, can decimate larger foes. Just be mindful of its nerfed effectiveness and charge requirement.
Recoilless Rifle
- Call-In Time - 3 Seconds
- Uses - Unlimited
- Cooldown Time - 480 Seconds
Very powerful just like the EAT, but its effectiveness is slightly diminished by its huge reload time. You will need a teammate to reload for you if you plan to use this weapon.
Advertisement
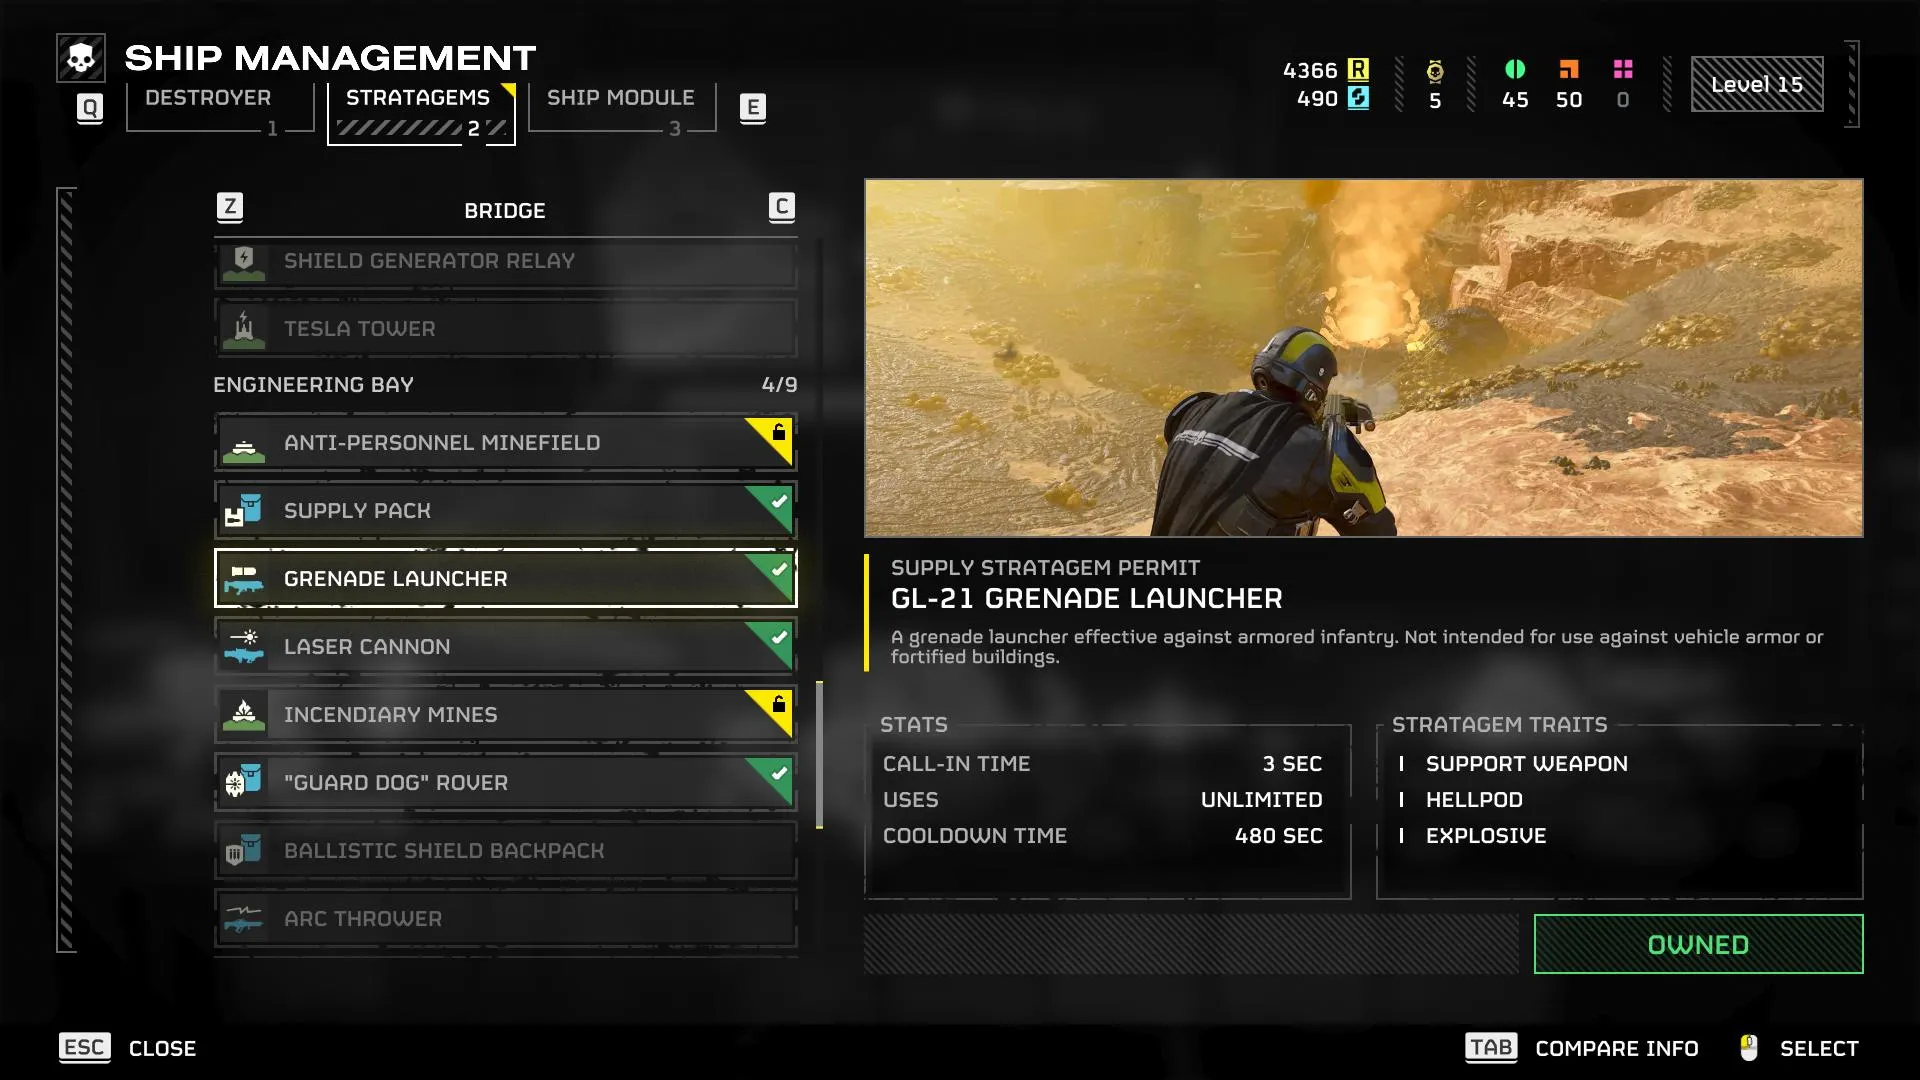
Grenade Launcher
- Call-In Time - 3 Seconds
- Uses - Unlimited
- Cooldown Time - 480 Seconds
Offers great explosive damage with a high range, making it excellent for clearing groups of enemies or destroying key targets. While it runs low on ammo quickly, pairing it with a supply pack makes it a formidable weapon.
Eagle Cluster Bomb
- Call-In Time - 0 Seconds
- Uses - 4
- Cooldown Time - 15 Seconds
The best stratagem for clearing large groups of enemies quickly and has a short cooldown. Very good at killing your teammates too.

Orbital Precision Strike
- Call-In Time - 4 Seconds
- Uses - Unlimited
- Cooldown Time - 100 Seconds
Packs a significant punch with incredible accuracy, making it a fantastic choice for targeted elimination of tough enemies across both factions. The downside is that it takes forever to hit with its extra call-in time.
Advertisement
Orbital EMS Strike
- Call-In Time - 2 Seconds
- Uses - Unlimited
- Cooldown Time - 75 Seconds
Freezes enemies in place, offering strategic control in heated battles. Its effectiveness makes it a top choice for crowd management.
"Guard Dog" Rover
- Call-In Time - 5 Seconds
- Uses - Unlimited
- Cooldown Time - 480 Seconds
A good Stratagem that can clear smaller enemies while you focus on the bigger threats. The downside is its lack of armor penetration and it often shoots your teammates.
Gatling Sentry
- Call-In Time - 0 Seconds
- Uses - Unlimited
- Cooldown Time - 180 Seconds
Provides excellent suppressive fire, essential for holding back enemies and protecting objectives.
Advertisement
Autocannon Sentry
- Call-In Time - 0 Seconds
- Uses - Unlimited
- Cooldown Time - 180 Seconds
Essentially it is the Autocannon on a turret. It has a long range and can support the team effectively if placed correctly.

EXO-45 Patriot Exosuit
- Call-In Time - 0 Seconds
- Uses - 2
- Cooldown Time - 600 Seconds
The Patriot Exosuit is your go-to mech for when you want to feel unstoppable against bugs. It's packed with a machine gun and rockets, perfect for shredding tanks and keeping the smaller pests at bay. While bots can make quick work of it, against bugs, it turns evacuation missions into a walk in the park and helps your team complete objectives with its firepower.
Advertisement
B Tier Stratagems in Helldivers 2
These Stratagems are really good, but they are more situational than those in the S or A tiers.

Mortar Sentry
- Call-In Time - 0 Seconds
- Uses - Unlimited
- Cooldown Time - 180 Seconds
Think of the Mortar Sentry as your personal artillery unit. It launches powerful explosives far into enemy lines, dealing massive damage. It's especially good before storming bot bases, clearing the way for you. Just remember, it's not great around bugs or in close combat since it can accidentally blow you up too if enemies get too close.
Laser Cannon
- Call-In Time - 3 Seconds
- Uses - Unlimited
- Cooldown Time - 480 Seconds
After the buffs, it now pierces armor and deals decent damage to a variety of targets. Heat build-up is a drawback, especially on warmer planets, but in cooler environments, it shines by cutting through enemy ranks with ease.
Advertisement
Jump Pack
- Call-In Time - 5 Seconds
- Uses - Unlimited
- Cooldown Time - 480 Seconds
Allows you to leap over obstacles or enemies, enhancing mobility significantly. It’s a game-changer for navigating the terrain quickly or escaping tight spots. Though it doesn’t offer direct combat enhancements, the ability to reposition swiftly can be a lifesaver.

Tesla Tower
- Call-In Time - 3 Seconds
- Uses - Unlimited
- Cooldown Time - 150 Seconds
While it has its drawbacks, including a high risk of friendly fire and vulnerability to chargers, it shines in defense missions by significantly thinning enemy ranks.
Eagle Napalm Airstrike
- Call-In Time - 0 Seconds
- Uses - 2
- Cooldown Time - 15 Seconds
Offers fire damage over an area, making it a decent option for bug encounters. However, its performance is overshadowed by the standard Eagle Airstrike.
Advertisement
Orbital Walking Barrage
- Call-In Time - 3 Seconds
- Uses - Unlimited
- Cooldown Time - 240 Seconds
Consistent and powerful, this stratagem excels in clearing paths and securing objectives with its reliable explosions. Its ability to disrupt enemy formations is great but it lacks effectiveness against tanks and towers.
Orbital Airburst Strike
- Call-In Time - 2 Seconds
- Uses - Unlimited
- Cooldown Time - 120 Seconds
A large-area devastator that excels in thinning enemy ranks. While its capacity for friendly fire requires careful handling, its effectiveness is undeniable, making it a solid choice for clearing bug breaches.
Advertisement
C Tier Stratagems in Helldivers 2
These Stratagems can be useful but they are less effective than the ones in the upper tiers.
Flamethrower
- Call-In Time - 3 Seconds
- Uses - Unlimited
- Cooldown Time - 480 Seconds
A recent buff has turned the Flamethrower into a bug's nightmare. It melts through most enemies with ease. However, its lack of range and potential danger to teammates hold it back from higher ranks.
Stalwart
- Call-In Time - 3 Seconds
- Uses - Unlimited
- Cooldown Time - 480 Seconds
A bullet hose that's perfect for dealing with swarms. While not the strongest in damage, its sheer volume of fire makes it a contender. Great for those who love to keep the pressure on but might be overshadowed by other bug-clearing options.
Orbital 120mm HE Barrage
- Call-In Time - 5 Seconds
- Uses - Unlimited
- Cooldown Time - 240 Seconds
Offers a specific, area-targeted solution to enemy encampments, particularly against bots. Its unpredictable nature and risk of friendly fire make it a situational pick, balanced by a long duration.
Advertisement
Orbital 380mm HE Barrage
- Call-In Time - 6 Seconds
- Uses - Unlimited
- Cooldown Time - 240 Seconds
A beefier version of the 120mm, with added firepower. Best used against automatons, where it shines with its extended duration.
Eagle 110mm Rocket Pods
- Call-In Time - 6 Seconds
- Uses - Unlimited
- Cooldown Time - 240 Seconds
These deliver powerful, targeted strikes ideal for taking down bigger foes. However, their inconsistency and limited ammo capacity compared to other options make them a bit of a gamble.
Advertisement
HMG Emplacement
- Call-In Time - 3 Seconds
- Uses - Unlimited
- Cooldown Time - 180 Seconds
A heavy machine gun that’s great for laying down a lot of bullets quickly. It’s perfect for holding a line or covering a retreat. The main downside is its limited mobility due to the slow turn speed, making it less versatile in fast-paced situations.
D Tier Stratagems in Helldivers 2
We do not recommend using any of these Stratagems. They need some buffs to be effective.
Anti-Materiel Rifle
Capable of downing Hulks in two shots, it's not without merit. Unfortunately, its severe recoil and poor ammo return make it a less desirable option for support.
Heavy Machine Gun
The Heavy Machine Gun, while dealing more damage than its standard counterpart, suffers from significant drawbacks including a forced aim-down sight for accuracy, slower reload times, and rapid ammo depletion without offering armor penetration. Despite full ammo restoration on resupply, its practical application is limited, making it less favorable compared to other support options.
Machine Gun
Potent against medium-sized threats with decent damage. But, its atrocious ammo economy and clunky reload mechanics drag it down to the lower end of our list.
Orbital Gatling Barrage
Efficient against lesser foes and boasts a favorable cooldown. However, its performance is overshadowed by more effective options.
Advertisement
Spear
When it works, it's fantastic—offering nice range and damage. However, its reliability issues and finicky lock-on mechanism make it a frustrating choice.
Machine Gun Sentry
Inferior to the Gatling variant, offering less effective fire support.
Rocket Sentry
It sounds powerful but tends to underperform against the toughest enemies, which are its intended targets. While it's good against medium-sized foes, its limited ammo and lower efficiency compared to the Auto Cannon one make it less appealing.
Advertisement
Guard Dog
A lesser version of the laser variant due to its lower ammo capacity. Lacks armor penetration.
Eagle Strafing Run
- Call-In Time - 0 Seconds
- Uses - Unlimited
- Cooldown Time - 15 Seconds
Its smaller AOE and fewer charges compared to other options make it less appealing.
Orbital Gas Strike
Releases a cloud of gas to damage enemies over time. While it has the potential to be useful, its actual damage output and the duration of the gas cloud are underwhelming, making it a less effective choice for area denial or damage over time.
Advertisement
F Tier Stratagems in Helldivers 2
These are the worst Stratagems in the game. Do not make the mistake of spending your credits on any of them.
Ballistic Shield Backpack
Ineffective activation and high risk to the user render these mines more of a liability than an asset.
Orbital Smoke Strike
Provides minimal strategic advantage, significantly hindered by a long cooldown and ineffective utility in combat.

Anti-Personal Minefield
Ineffective activation and high risk to the user render these mines more of a liability than an asset.
Advertisement
Incendiary Mines
Similar to anti-personnel mines, these offer little value and are easily outclassed by virtually any other stratagem.
Eagle Smoke Strike
Offers little in terms of utility, making it a hard pass. Its effect on visibility and minimal strategic advantage makes it a non-starter.
And that concludes our Stratagem tier list for Helldivers 2. You will never make a mistake by choosing any of the upper-tier Stratagems for your mission loadout. For more Helldivers 2 news and guides, check the rest of our website.
Advertisement